As promised to everyone who came out to the Southern California CAD Summit, here's how I created the emboss punch in Inventor 2008.
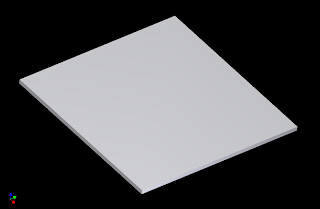
Step 1.
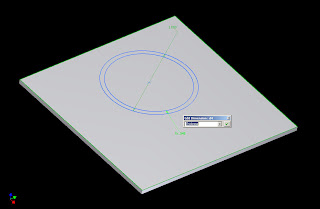
I created a flat piece of metal in Inventor's Sheet Metal tool. This serves as a 'generator' for my I-feature. I like to create parts who live only to create I-features for me. It allows me to go back and try again if I make a mistake the first time. Make sure you use a Point, Center Point in your sketch or the punch won't work!
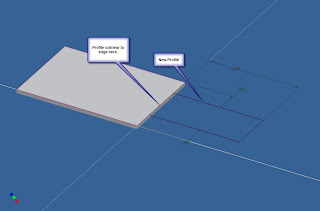
Step 2.
Next I draw my 'Footprint' for my punch. In this example, this is also going to be the simplified representation for my punch. You'll also note that I set the circle's offset to be equal to the material thickness. This will allow the emboss thickness to adjust to different sheet metal thicknesses.
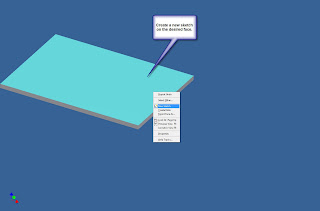
Step 3.
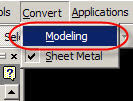
I'm going to use Inventor standard modeling tools to create my emboss, so I'm going to go to the Convert pulldown and switch to the Modeling environment.
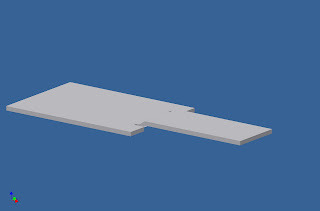
Step 4.
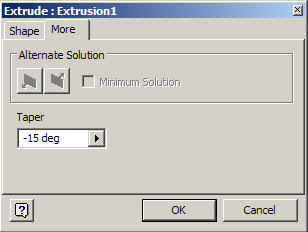
With this done, I can now start embossing the outer portion of my emboss.
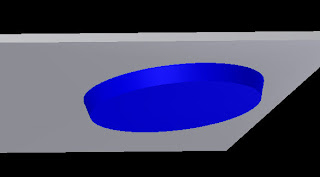
In my example, I've made the emboss's depth 3 times the material thickness, with a taper angle of 15 degrees. Of course your values may be different!

I've colored the partially completed punch blue in this picture.
Step 5.
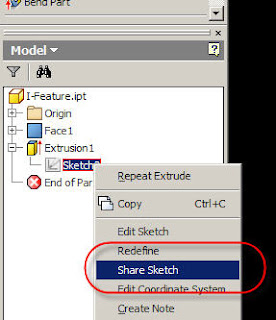
Now we need to 'hollow out' the emboss. I'm going to reuse the sketch I created back in Step 2, but first I need to use the 'Share Sketch' tool so I can access it for the next step.
Step 6.
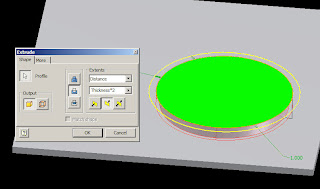
With the sketch available again, I can use the extrude tool to cut out the emboss. I use the same settings, but only cut 2 times the material thickness for the cut (so we don't cut out the bottom of our emboss).
Step 7.
With the Emboss nearly completed, we can break the sharp edges with the fillet tool. Notice that I used the Thickness parameter again to keep my emboss thickness consistent.

Step 8.
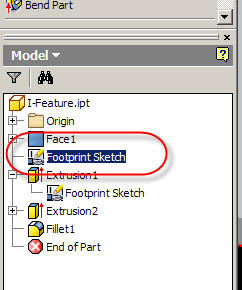
With this completed, I renamed my sketch to 'Footprint Sketch'. This isn't absolutely necessary, but it helps find the sketch when we need again a little later.
Step 9.
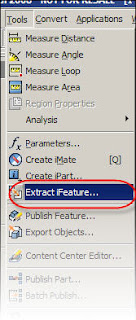
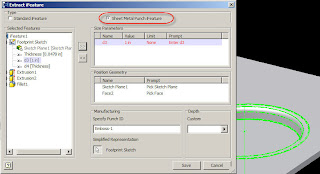
Finally, we get to go to Tools>Extract I-feature and create the I-feature!
Step 10.
Now that the Create I-feature dialog box is up, make sure to choose the punch option. Notice the following:
a) I added the diameter as one of my size parameters (so I can change the diameter of my emboss). You can add as many or as few parameters as you need.
b) I used the 'Footprint Sketch' in the foot print option.
c) Make sure you add all the features you need, in this case I have two extrustions and the fillets. You can also add the features by picking them from the browser. It may be easier that way.
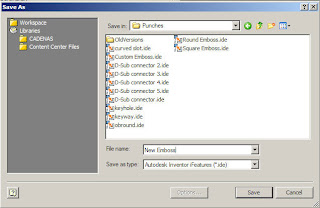
Step 11.
Save the punch, and now your ready to go use your punch in your designs!
Happy Inventing! I hope everyone enjoyed the CAD Summit, and that this post is a useful extension to the event!