Find us on Google+ Inventor Tales: Cloud
Showing posts with label Cloud. Show all posts

Friday, January 06, 2017

Autodesk A360 and Your Own Private Wiki

One thing I've learned from my aircraft maintenance classes, as well as from my various aviation mentors, is that the information surrounding a design can be every bit as critical as the design itself.

For example, aircraft have extensive logbooks recording all maintenance and inspections that have been performed on the aircraft.  At any time, your friends from the Federal Aviation Administration (FAA), can drop in and say.

"We're from the FAA, we're here to help.  May we see your aircraft maintenance logbook?"

A typical aircraft maintenance logbook.  This is not to be lost! 

Needless to say, if you don't have an accurate and updated logbook, you may feel a few beads of sweat on your forehead.

The point of my little anecdote is that when working with an aircraft, product, or design, the information that drove your design in a given direction can be every bit as important as the design itself.

That information may come in the form of spec sheets, vendor quotes, or meeting notes.

What would you do if you were asked, "What information drove you to make the decision you did?

In my experience, these documents are often misplaced or even worse, lost forever.  Meeting notes get thrown out, spec sheets get dropped in "a network drive somewhere", and vendor quotes are left in "an email from a few months ago".  

As I've taken a deeper dive into Fusion 360 and Autodesk A360, I've found that A360 provides a nice tool that can help with that very thing.

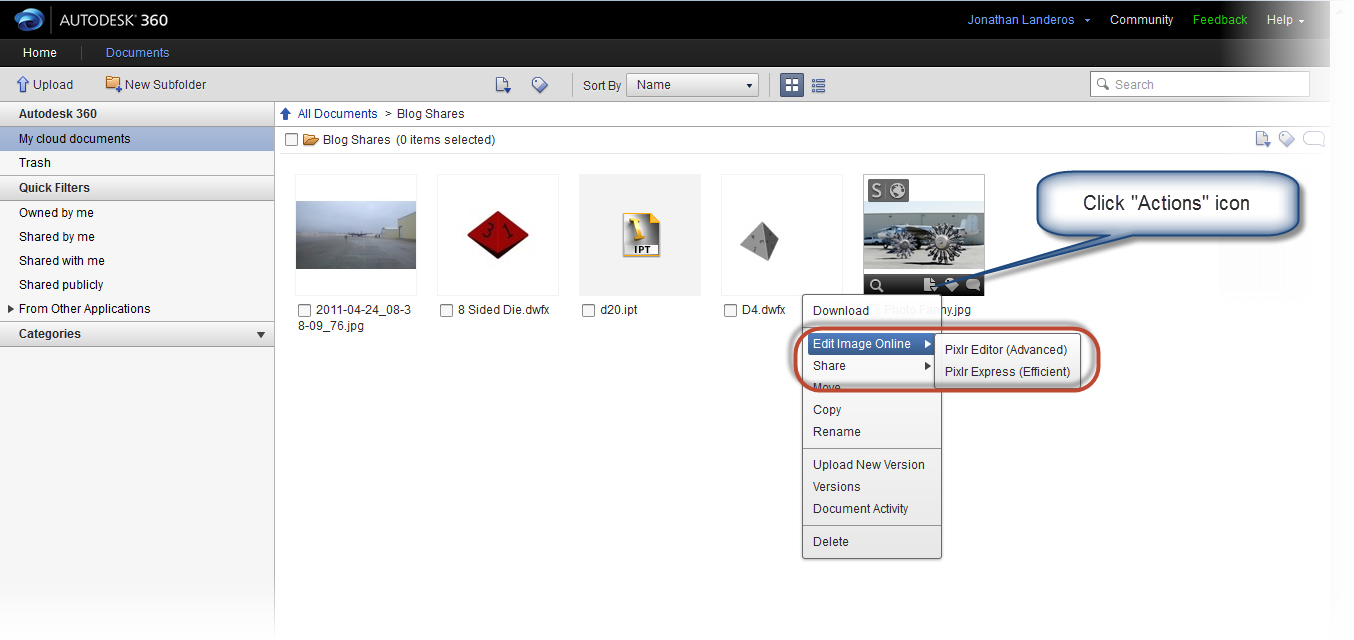
A360 has a "Wiki" folder that let's you create documents letting you keep the information you need with your project.

The "Wiki" folder hidden in A360.

It's a special folder where you can add information and add links to whatever information you deem important to your project.

Here you can create multiple documents, share them with other members of your team, and allow them to comment, and update the documents.

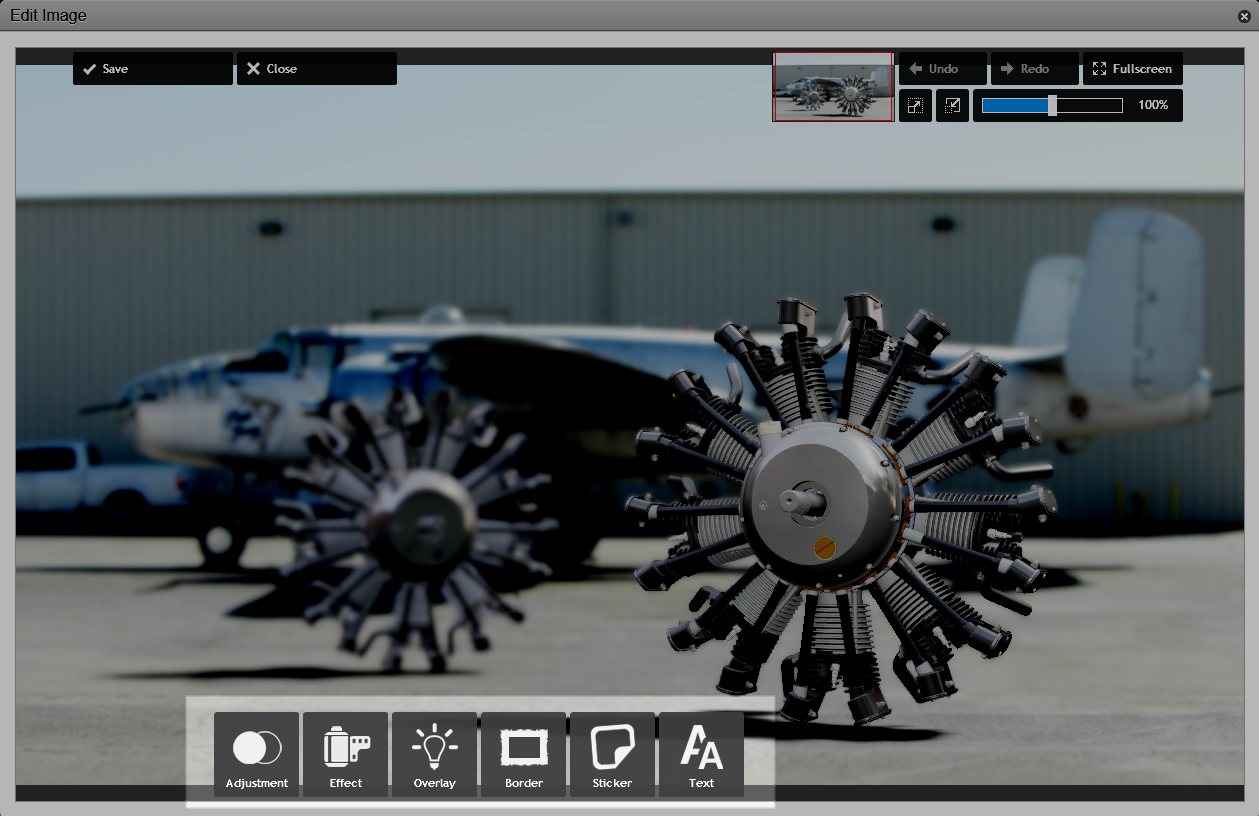
A sample of my A3t60 Wiki.  I only have one page started


In my initial test, I created a Wiki page with links to important documents that I might need.  These references are documents from the FAA, links to important technical documents, and helpful instructional videos.

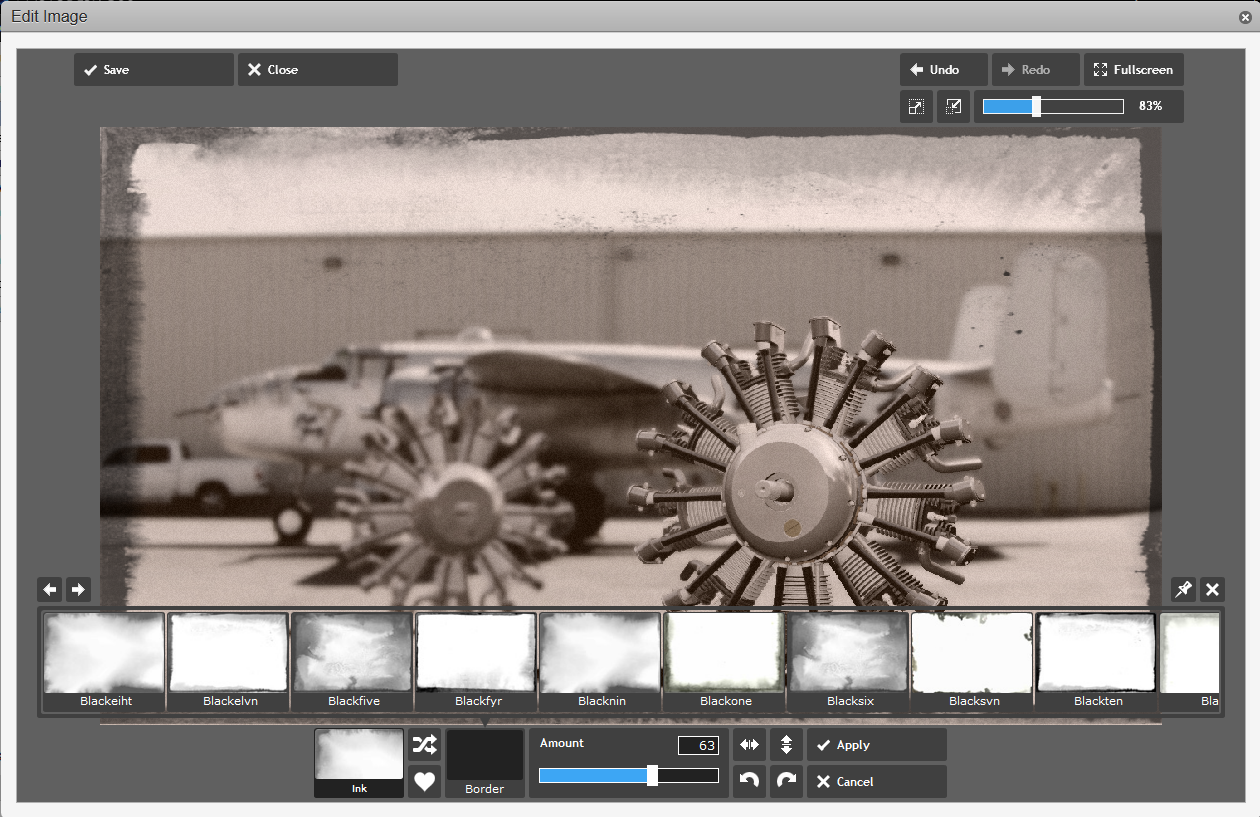
The Wiki page I created for my Fusion 360 project.

Now is that all you can do?  Hardly!  Personally, I've only just waded into the shallow end of the pool.

But it's something I intend to make further use of, and if you're using Fusion 360, I think that it's worth taking a look at what this Wiki folder in A360 can do for you.

After all, if you don't record it, it's like it never happened in the first place.

So what do you think you could use this Wiki page for?

Share your thoughts!  In the spirit of collaboration, let's all learn together!


Wednesday, January 04, 2017

Fusion 360 and A360 - Using Them Together

There's a lot of talk about Fusion 360 and all the things it can do, and there should be! It's a great tool that does a lot of great things, and it's doing more all the time.

But just as important, is sharing the right information, and sharing it with the right people. 

If you've used Fusion 360 before, you've almost certainly used the data panel.  It's where your projects and project data is stored and organized

The data panel, ever present, on the left of your screen


But did you also know that it's folders are mirrored to Autodesk cloud storage service A360

The folders mirrored in A360
If you're a big Fusion 360 user, you may be shrugging and saying, "so what?"

But what if you need to share that data?  What if you need to access that data from multiple computers or mobile devices?  

A360 can come in handy for that, sharing with consumers who may not be Fusion 360 users.

Maybe they just need images for marketing, or maybe it's something that you or your team want to review on site?

Maybe you just want to embed some code to create a view-able file for a blog post... (spoiler alert!)


That's a job for A360!  

So before you throw it in the "Wastebasket of Meh", give it a thought or two, and think about how you can use it. 

I know it's possibilities are inspiring me, and I'm looking forward to exploring further! 

Since I can access my data on my tablet, exploring should be easy! 

Can you hear the music to "Travelin' Man"? 
I'm looking forward to sharing what I learn! 

I'm already getting some great ideas! 


Friday, September 23, 2016

A Little Glitch in the (A360) Matrix

Sometimes, the internet hiccups. And I found that happened with my Autodesk A360 account earlier this week.


This is *not* a glitch in the matrix.
I have three black cats.
Friday, I was going to log into my A360 account, and all I saw was the login screen.

Seeing how this is a normal thing to see, I logged in, and waited for A360 to do some technical things.

This before login is normal.


I wait excitedly to be greeted by the wealth of my accumulated information, and what do I see instead?

Seeing this after login is NOT normal!


That's right!  I loop back to the login screen!  It's about 10:30PM.  So I give up and go to bed.  Maybe the next day will fix it.

I try it again on the following day, and I still get the same thing.  It's time to ask Google!

And Google yielded some results from the Autodesk Community itself.  

You can read the thread at the link here, and I encourage you to do so!  

But here is the summary from that page.

The solution!
I tried it, and that solved it!

I was running Google Chrome, to clear your browser history in that program, hit CNTL+H, and choose the Clear Browsing Data button.


Then shut down your browser, and restart it.  Try logging in again, and the problem should be solved.

So if you're running into this issue, give this solution a try!

Sunday, July 05, 2015

Learning Electricity with EveryCircuit - The Future of Making Things

A few days ago I posted about how I'm taking a class in electricity at Mount San Antonio College as part of my slow journey through the aircraft maintenance program.

After two weeks, it's been a challenge, but it's also been very rewarding as I've studied and applied my knowledge both in the classroom, and in the lab.

The physical simulator in the lab.  It's a great learning tool, but it's not very mobile.

Part my goal in getting as much as I can out of the class was looking for tool to help me study and learn circuits.  I really only wanted to meet three goals. 

I wanted it to:

  1. Be mobile.
  2. Be able to run simulations.
  3. Be inexpensive.

The first place I started looking was at mobile apps.  I didn't think I would get all three of my bullets.  That was my best hope of meeting as many of my requirements as possible. 

It took me only a few minutes to find an app called EveryCircuit, and it hit all three bullets. 

It runs on Android and Apple devices, as well as in the Chrome browser, so I could have it anywhere I had one of my mobile devices.

Practice Relay Circuit - EveryCircuit


A relay circuit I created in EveryCircuit.
Much more mobile the physical simulator! 

It has functions I could use to "quiz" myself., I can place voltmeters, ammeters, and ohmmeters into my circuits, mimicking functions I'm required to perform in class.

It also has a community where I can get additional circuits that I can use as tools to make myself better.

And all at the price of 1 U.S. Dollar per month.  A year can be purchased for 10 U.S. Dollars.  I've spent more on lattes in a week!

I haven't finished the trial period yet, but I'll be making a purchase.  It's already helped me immensely, and I can see where it will keep helping me.

If you design electric circuits, I'd suggest taking a look at this program too.

So here it is.  The Future of Making Things taking a hand in my life.

And why?  Just look at the connectivity coupled with mobility.

The app is accessible on my mobile devices.  I can also save circuits to the cloud, and access my circuits on any one of my devices.  With the Chrome extension, I can even get to my circuits on any computer that has Chrome.

Think of it as Gmail for circuits!

It's data shared via the cloud.   It's shared between devices, and it can be shared in a community at large.  It's increasing the accessibility to information.

An example of some of the circuits shared by the community.
There are examples from all over the world!
And this is just one portion of the Future of Making Things.

And speaking of that, I'll be attending the  Future of Making Things Roadshow at the Los Angeles Science Center with a new perspective, and excitement, based on my experience with EveryCircuit's capabilities.

I'd encourage all of you out there to seek out events in your area, and attend them if your able.  If you can't, keep an eye out on how mobility, and accessibility is changing how we make things now.

To quote William Shakespeare, "What's past is prologue, what to come, in yours and my discharge".

Thursday, June 27, 2013

Released into the "Wild" Autodesk Fusion 360 is Here!

“Fusion will be the final way out for the future.”
Shen Wenquan

Earlier this week, Autodesk announced Autodesk Fusion 360, a cloud based mechanical design tool.

So what does this exactly mean? 

Instead of a heavy 3D modeller sitting on top of your workstation, now you're operating on the cloud. 

The files are stored in the cloud.  In that ethereal world of 1's and 0's, designs are shared, collaborated upon, and versions are tracked, the whole time the design is being created, or "ideated",to use the popular buzzword

In this respect, it reminds me a bit of how I've been storing documents on Google Drive for years.

There's also a nice dashboard where projects can be managed with the design team of other Fusion 360 users.  Combining a bit of a social media site with data storage for design files.

Files can be accessed where ever you have access to your Autodesk Fusion Account, and since the files are on the cloud, they're also accessible, as well as continuously being backed up. 
No more opening your laptop to realize you forgot to copy a file from the server! 

Just yesterday I signed up for my Fusion 360 account.  I'll shortly start creating simple parts, trying some collaboration, and quite simply, kicking the tires on a new way of approaching design.

Here's my new dashboard.  A clean slate ready to get started

So in many ways, I'm still learning about Fusion 360, and I expect to continue learning.  I'm hacking my way with my virtual machete, bullwhip on my hip and fedora on my head, trying to blaze my own new trail into new territory.

I'll be sure to let you know what I find!


And if you're interested in taking a look at Autodesk Fusion 360 yourself, click here to get started!

For more information on Fusion 360, check out the overview below from the Autodesk Fusion 360 team! 


There is also an interesting interview with Autodesk CEO Carl Bass with Bloomberg, where he discusses the cloud, Fusion 360, and even the U.S. Patent System.


Wednesday, May 01, 2013

A Quick Tour of the Pixlr Photo Editors Included in Autodesk 360

“the highest regard you can receive. That photo can describe an entire life, just an honor, as well as a fun moment.”
Aaron Eckhart

One of the things Autodesk Showcase can do is publish renderings both locally, and to the cloud via Autodesk 360.

Rendering an image both locally and to the cloud
But one of the things I recently learned, quite by accident, is that Autodesk 360 will do more than just store the renderings for safe keeping and sharing. 

It also contains tools from Autodesk Pixlr, which allow for additional photo editing to the image even after it's been rendered from Showcase.  So additional effects to make for a more eye-grabbing image can be created if desired. 

Before, I only knew this tools to be available for mobile devices, I hadn't realized they'd made their way to Autodesk 360 too!

These tools can be access by using the "Actions" pull down in Autodesk 360.   There the tools Pixlr Editor (Advanced) and Pixlr Express (Efficient) are located.

Below I'm using the scene I used from my previous blog post on the "Depth of Field" settings in Showcase 2014.


Choosing the editor
Selecting Pixlr Express, the editor will open and allow effects beyond what was created in Showcase available. 


The effects toolbar
The effects include things like:

Adjustment: Find tools like, Rotate, Blur, Resize, Rotate, etc. to images.
Effect: Tools to soften, age, make unicolor, etc. to images.
Overlay: Overlay effects like Flame, Fireworks, and more.
Border: Add several different borders to the image
Sticker: Several "stickers" are available to place on the image.

Below is an image in the process of having an effect added.


Editing the image.

When all is done, a new image with new effects is created and can be used.  So if there's a need to tweak an image, or just create something with a little more "artistic flair", the Pixlr tools on Autodesk 360 can be a nice way to add what's needed.

Below is the completed image, with an aging effect and a border added. 


And don't forget, there's also Pixlr Editor, which adds a lot more tools for even more photo editing options!

Pixlr Editor for more editing tools
 Below I've used it to to remove the truck in the background from another rendering created off the same scene.


Note the truck in the background on the left side.

I'm not much of a photo editor, so it's not difficult to see my edits.  Someone with a little more skill can do a much better job.

The truck hidden!  Even though the user's skills aren't very good!
 So there we are.  Some of those little known tools inside of Autodesk 360.  But if needed, they'll be there to add more punch to an image.

And on a final note, everything I've done has been using Autodesk Showcase, but any image can be edited.  So that means images created from an program, or even a photograph can be manipulated.

Below is an image I took in Lake Tahoe in Summer 2012.


And now one with a few effects added.


All that's left is for you to give it a try!


Sunday, April 07, 2013

Using Autodesk 360 to Create an Interactive View on a Webpage

“A pessimist only sees the dark side of the clouds, and mopes; a philosopher sees both sides and shrugs; an optimist doesn't see the clouds at all--he's walking on them.”
Leonard L. Levinson

Sometimes, the most interesting and unique things happen completely by accident.  And I'm going to discuss an instance of that here.

Over the last few months, I've been delving deeper into the use of my Autodesk 360 site, and exploring it's capabilities a little more deeply.

And there's a lot that can be done.  It can store files, it can control who has permissions to view and download files, it can be used to run, analysis, simulation, and rendering projects, as well as product life cycle management.   It can even be used as an online view for someone who needs to see your data.


In this post, I talk about a subtle capability that can add a lot of bang for the buck.  Embedding a viewable dwf file in a website.

A 3D dwf can do a lot to help make a design to life.  The viewer can zoom rotate, pan, and interact with the file.  These capabilities can add a lot of clarity, and value, to a proposal, or to the evolution of a design process.


So how can you create the embedded code into a webpage, like I've done above?

First, create a dwf from the source file.  In my example, I'm using a dwf of the 4 sided die I created a few months ago. 


Once the dwf is exported, switch to your Autodesk 360 account, and prepare to upload the file to the account.  In my example, I've created a folder called "Blog Shares".  But you can name the folder anything you want.  It's not necessary to create a folder, but I prefer to.  It helps organize things


Browsing into this folder, I'll go ahead and select "Upload" to begin the process of selecting and uploading the file.

 This opens up the window to browse to the file to upload.  Files can be dragged and dropped, or folder browsing can be used to add the files.  Multiple files can be added using this method as well.


In this case, I'm only adding one file, so I'll select it, and hit the "Upload Now" button.


The file will upload, and after a few minutes, the dwf file will generate it's view.  However, it's completely locked down, and nobody but the person who created it can see it.


In order to share the file, I'm going to move my cursor over the dwfx file.  I'll see icons for a Preview, Assign Categories, Actions, and Add Comments.

I'll select "Actions", choose "Sharing", and then choose "Public Sharing"


A dialog box will appear where Public Sharing can be turned on.  A link is created where the file can be downloaded, e-mailed, previewed, and finally, embedded.

Choosing "Embed", Autodesk 360 creates html code that can be used to copy and paste into a webpage (like this one!) and create the embedded preview above


So that's how Autodesk 360 can help amp up your website.  If you haven't checked out Autodesk 360 yet, it's worth taking a look at.  You get 3GB of storage just for starting it up!

One thing to note, I did edit the code to make the view fit better on my page.  But that's the only alteration I made.

And for the video version of this, take a look at that embedded file below!

<iframe width="545" height="409" src="http://www.youtube.com/embed/4vculzWL_dI" frameborder="0" allowfullscreen></iframe>