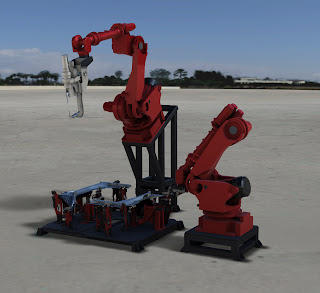
In this blog, we're going to create an environment that's going ad a bit more of the realism we're looking for.
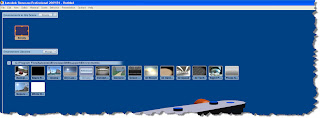
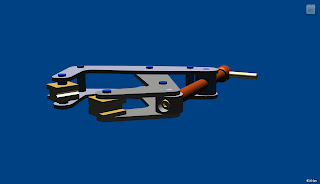
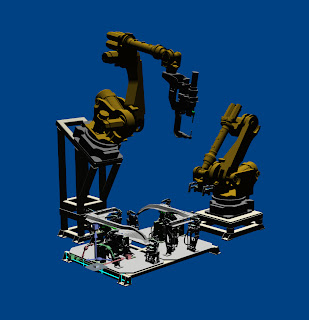
So with our clamp brought into Showcase, the first step to get away from that default blue screen is to go to our Scene>Environment Pulldown.
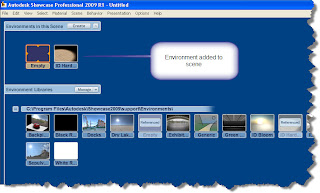
Once we select Environments, the tree with our available environments will appear.
Next, we left click on the environment we want, and add it to our scene. It will move from our environment library (the lower row) to our environments in scene (top row). It won't appear yet, however.
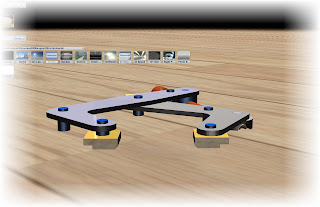
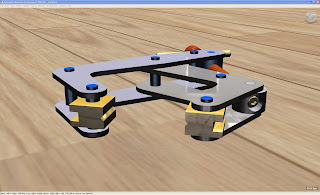
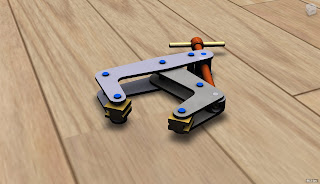
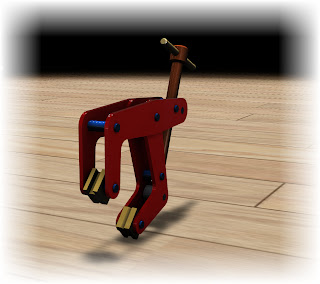
Now we can click on the Environment in the scene. It now becomes active, and we see that our part is now sitting on a wood floor, sort of. Our part is 'buried' in the floor, and we have to make one last adjustment.
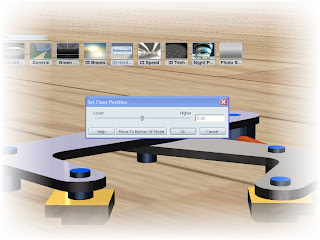
To resolve this, go to the Scene pulldown again, and choose 'Set Floor Position'.
With this option open, now you can move the slider up and down to adjust the position of the part on the scene. You can also use the 'Move to Bottom of Model' option. This may not work every time (it does depend on the origin on which the model was originally built at), but it can position the model quickly.
With the positioning completed (by one method or another), you can return to the Scene>Environment option and turn off your environment menu to complete the scene.
Add a few more some shadows, and you're heading down the road of a Showcase scene.
I've also embedded a video of changing between scenes. I'm slowly getting better at this Youtube thing, but I still have a way to go. Thanks for being patient!
More to come later! It's getting late and I need to sleep sometime!


