
Publilius Syrus
Edit by Jonathan Landeros
As of May 2013, The Augmented Reality Plugin for Autodesk Showcase has been retired. I liked this plugin, and the post does state that it may be back at a later date.
My fingers are crossed!
Shame on me for not updating this sooner, but things sometimes go into the archives, and collect dust.
******************
For some time how, the Augmented Reality Plugin for Autodesk Showcase has been available. If you haven't seen it, check out the video below from Autodesk Labs.
This video from Autodesk Labs describes the setup and configuration perfectly.
But in a Twitter conversation among Scott Moyse, David Gate, and Clint Brown, the following ideas were presented
1) Instead of printing out the markers, try using a mobile device, such as an iPad or Android to host the marker
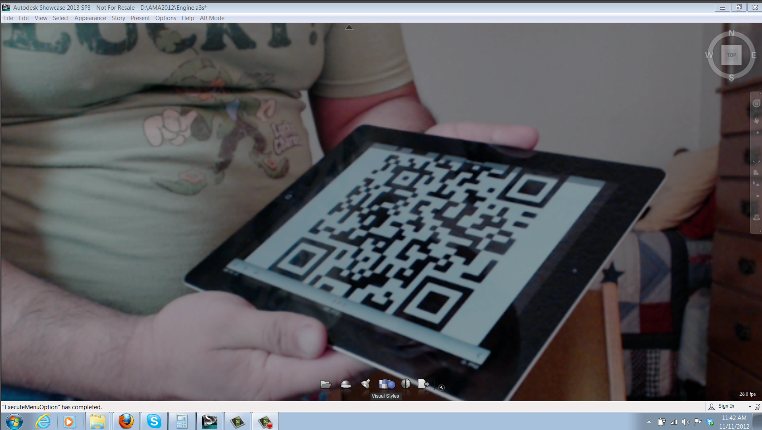 |
| Holding the iPad with the QR code marker |
I didn't have as much luck with this step. I was able to create a marker using the exported 2D image, but when I tried to use it as a marker, the model seemed to have a difficult time picking up the marker, it was jumpy and inconsistent.
But I did get the effect I wanted. It took some trial and error, a few more ideas, and a slightly different approach.
And here are those steps!
- The first step was to create an image of the scene I wanted to use, and set up the angle I wanted using the "White Room" environment. I also turned off the shadows for this environment.
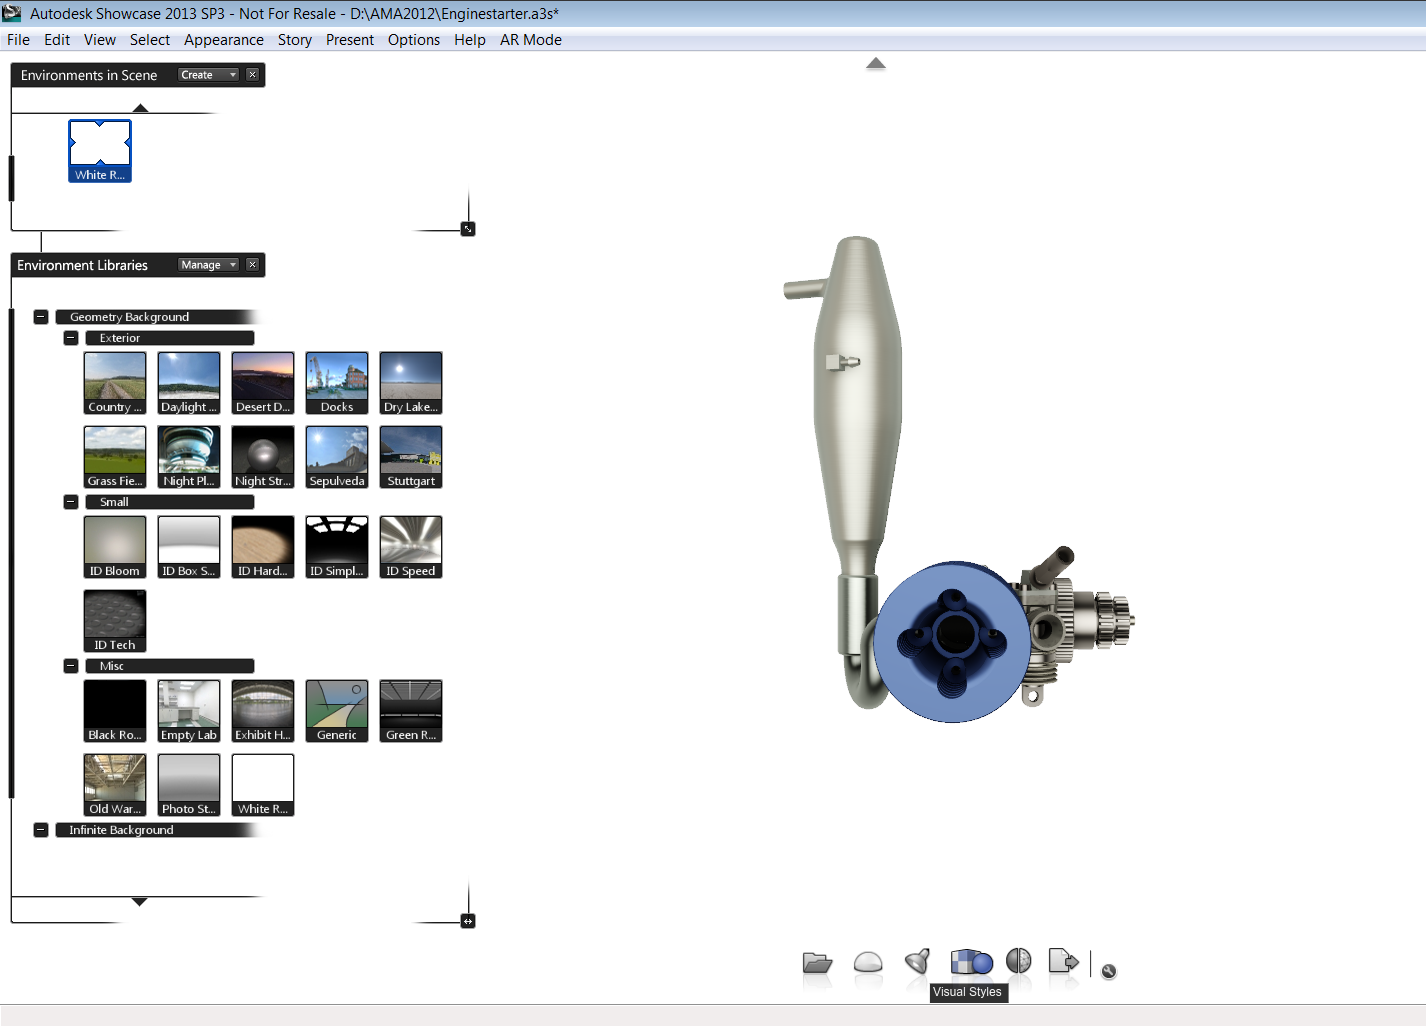 |
| Using the "White Room" environment. |
- I also went to the Appearance>Directional Light and Shadows.
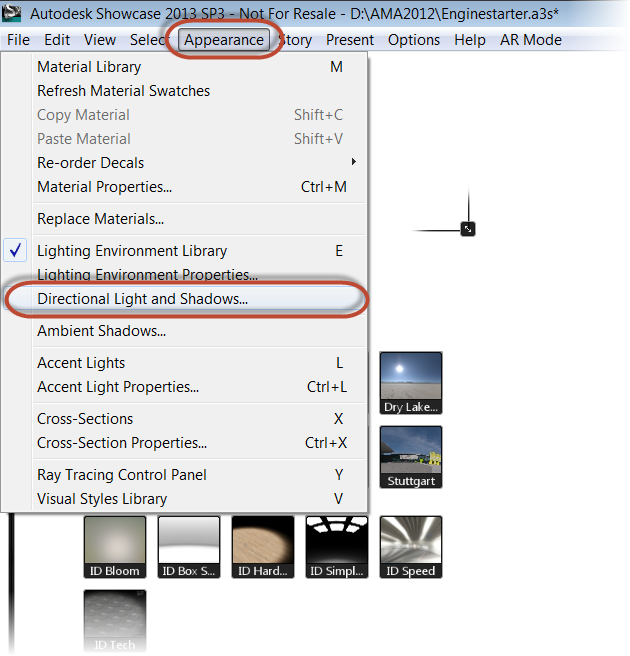 |
| Locating the pulldown |
- I then set the "Shadow Casting for All Objects" to "Specified Objects, and changed it's setting to "Make no Objects Cast Shadows".
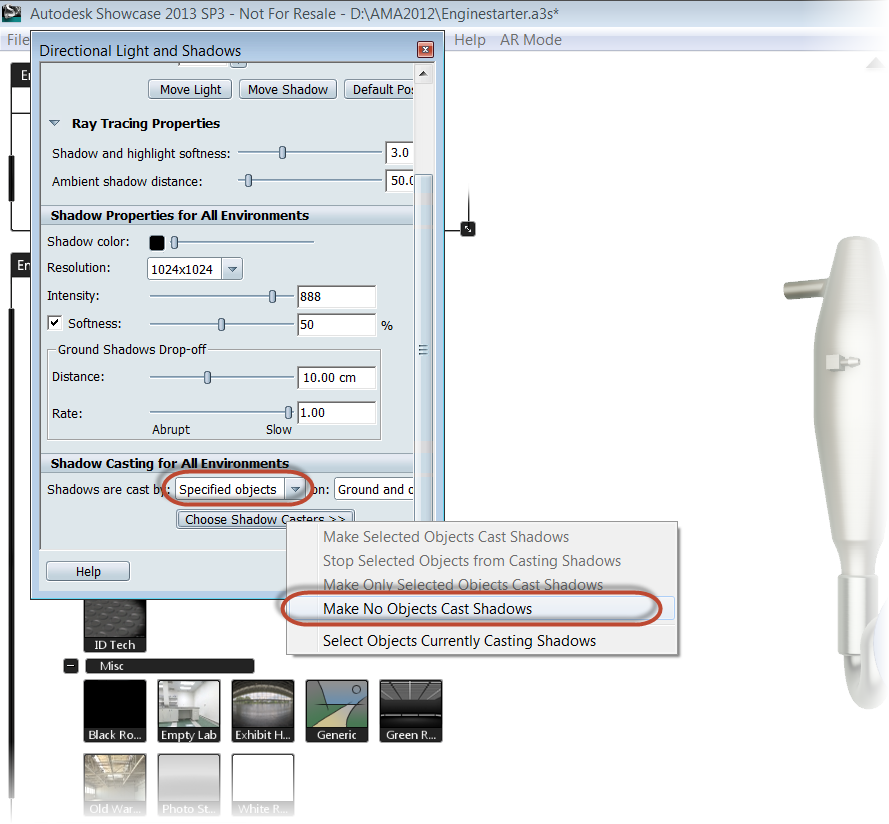 |
| Turning off Shadows |
- Next, I published the image to a *.jpg
 |
| Publishing the image |
- I then created a decal, using the jpg I just exported.
 |
| Creating the decal, with the critical settings shown |
- I then placed that decal on a "floor" I had created in Inventor, then imported and positioned in Showcase.
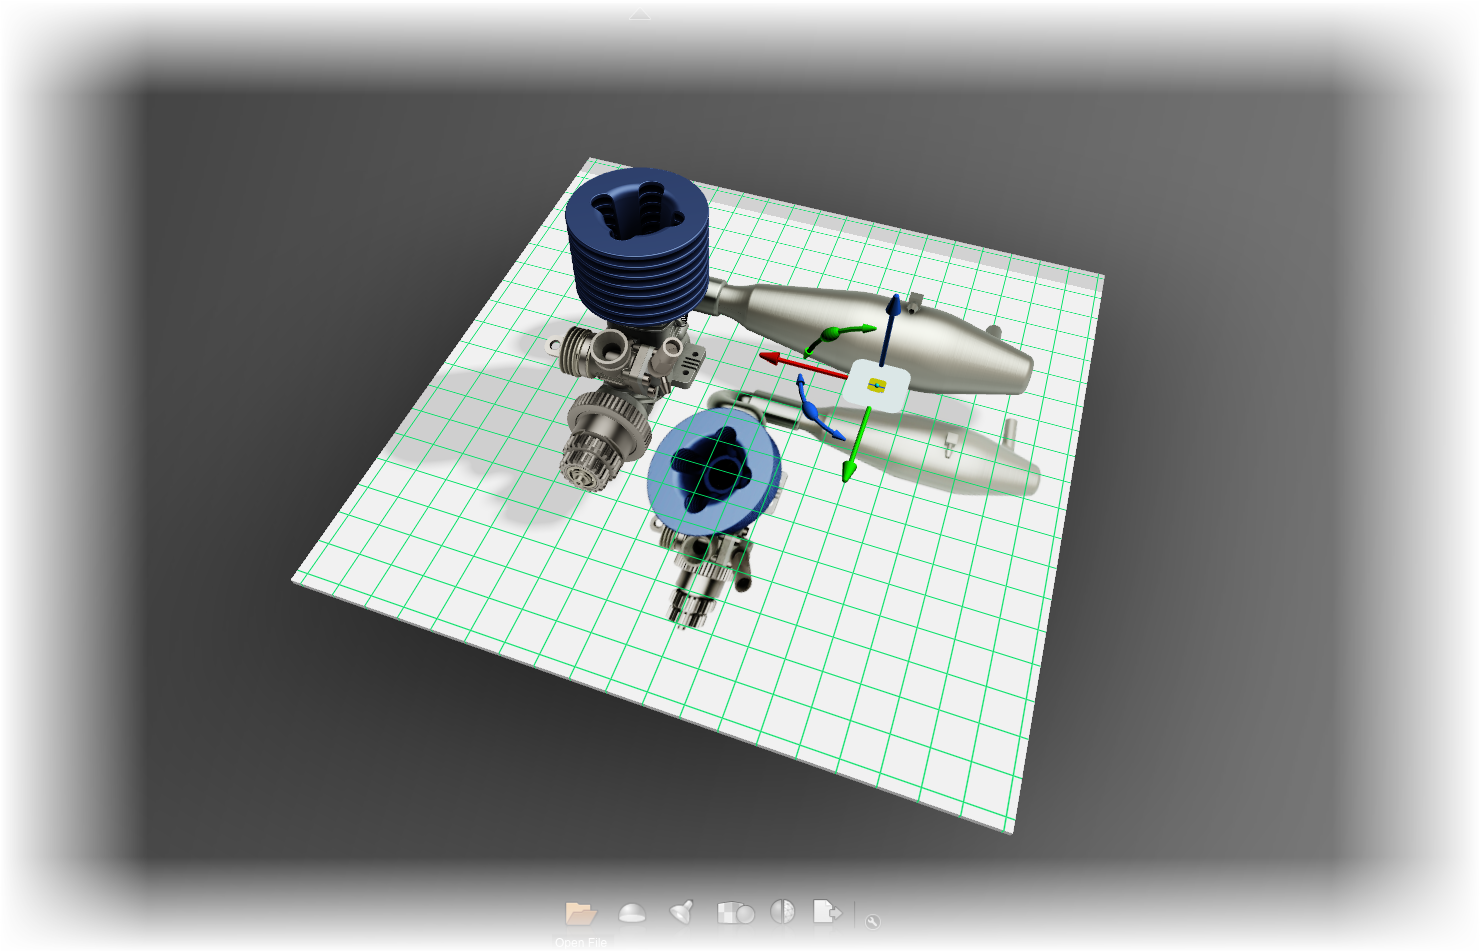 |
| The decal placed, and being positioned |
P.S. If you're going to Autodesk University in Las Vegas this year, look for me! I'm going to be there myself!
And feel free to leave a comment below!
Jon,
ReplyDeleteAwesome posts. A fan of the posts (although being in New England, I do get jealous of the snowboarding shots). I was wondering if you could help diagnose a showcase issue I have been having. I have uploaded a video of the part to youtube (sorry the last 15 seconds are garbage time).
http://www.youtube.com/watch?v=Ayp5dx0jMoc&feature=youtu.be
Despite importing the driven constraints from inventor, the pivot on the satellite does not move with the interface plate and as you can see the design intent is not matched. I have gotten the assembly to work using a keyframe animation when it was just the interface plate, however when the satellite is attached the keyframe animation does not want to pick up on the 30 or so bodies of the satellite. I have even tried deriving the interface plate and satellite 2x so the entire thing is 1 body, but still no success.
I was wondering if there was a way to import inventor studio animations into showcase (because the constraints are driven properly in that format) or if there was a better way to grab the satellite and interface plate with the keyframe operation. Even if there was a way to mate the bottom of the satellite to the interface plate and then drive the motion that way would be great, but unfortunately I am unaware if the options described above are possible.
Hard for me to say from the video. It seems like the behaviors may not be grouping correctly. I haven't done a ton of keyframes in Showcase myself. So that's not my strong suit, I'm afraid.
DeleteAs for bringing in animations from elsewhere, I don't recall if Inventor Studio will export an FBX file, but if it will, that's the way to do it.
If Inventor won't, you could always bring the assembly into 3dsMax (assuming you have one of the Product Design Suites). Max can create the animations pretty easily and export them to Showcase as an FBX file.
Then you can use Showcase to add the lights, shadows, and materials.
thanks for that thread im really having a nightmare trying to animate several objects joining (modular bottles) in showcase, the transform gizmo import wrongly the models' axis so they need to be adjusted with the 'insert' procedure but doesnt save and needs to be done again and again.... and there's an offset between the declared keyframes in the timeline and the real ones that shows the animation... terrible.
ReplyDeleteYou might try the videos on Marion Landry's YouTube channel. She has some videos on keyframes. http://youtu.be/VM3gh_08M9I
Delete