
Frankie Hejduk
The last few weeks of work and school have kept me hopping pretty quickly. So my last few blog posts have been of the shorter variety. I'm hoping to get some longer ones in the future, but for now, I have to keep them short.
I hope the tips are still helpful!
From time to time, I've found it's been helpful to place a dimension from an intersection of two lines, arcs, etc. in an Autodesk Inventor sketch.
The challenge found here? It's not something that can be done directly in the dimension tool!
But with a little help from the point tool in the Inventor sketch, this can be accomplished?
So what steps can be used to make this work?
I'll show you with the help of the sketch below. It's pretty easy!
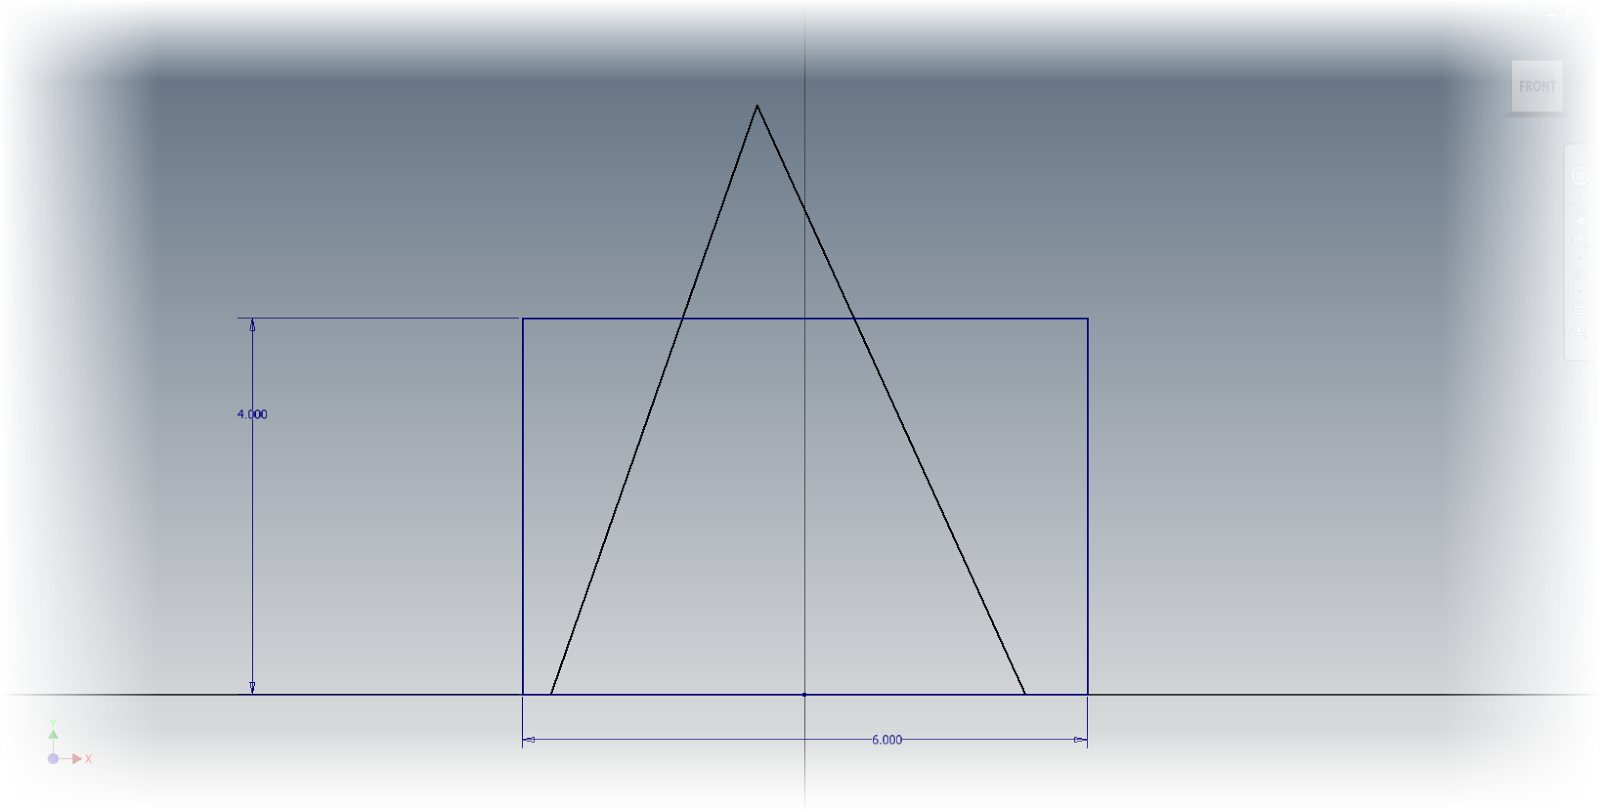 |
| The example sketch |
1) Start the point tool in the sketch
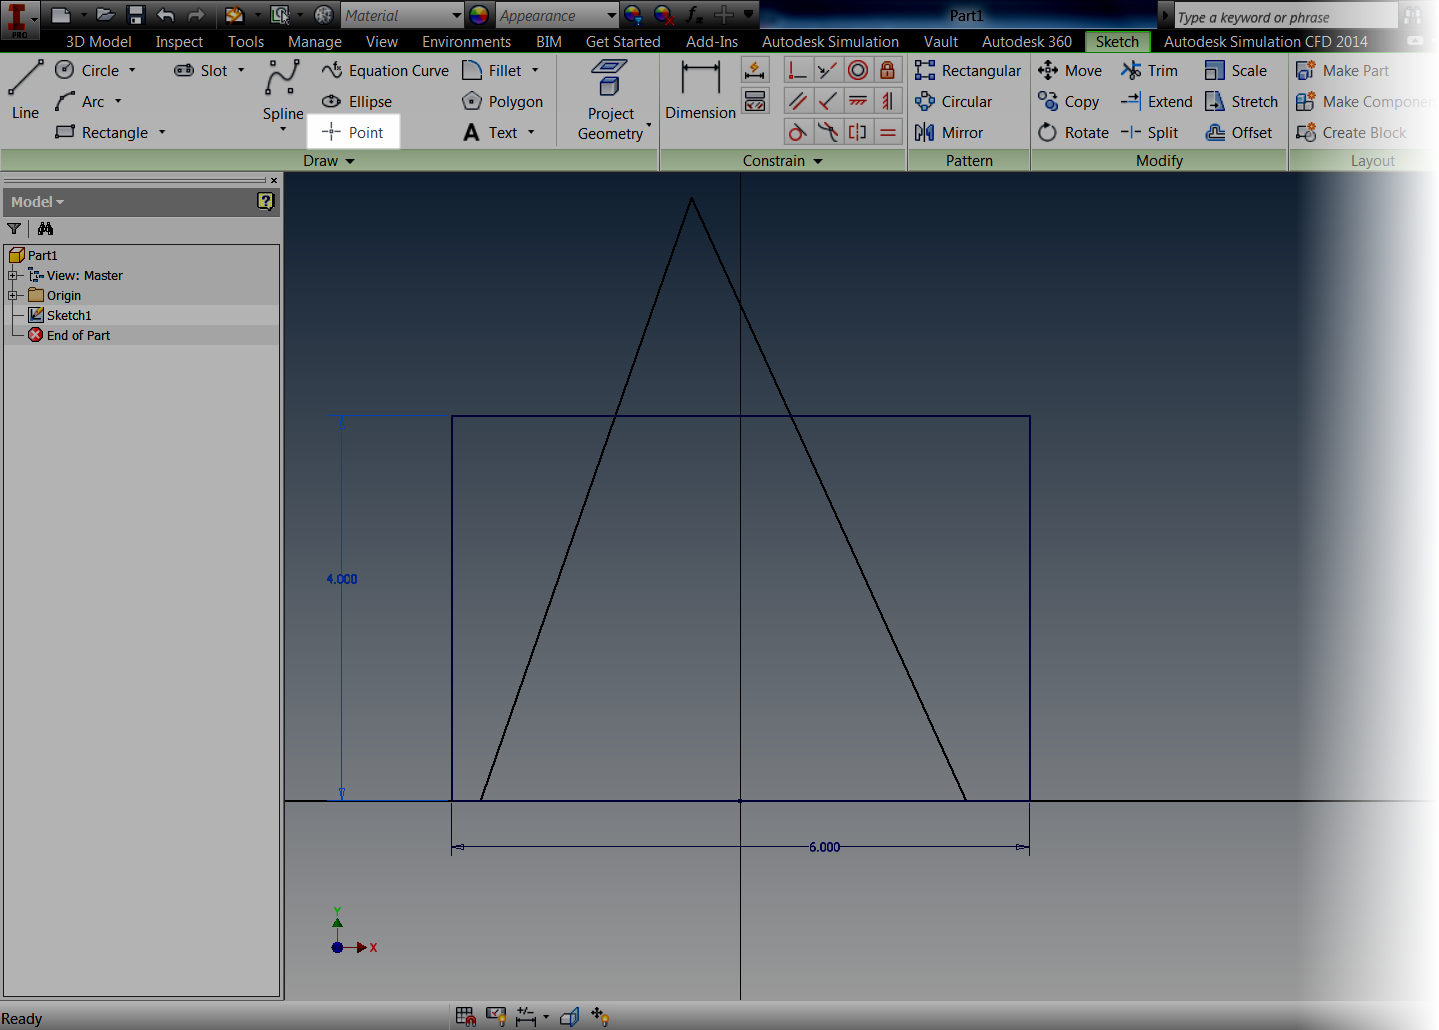 |
| Locating the point tool in the sketch ribbon |
2) Move the mouse to the intersection.
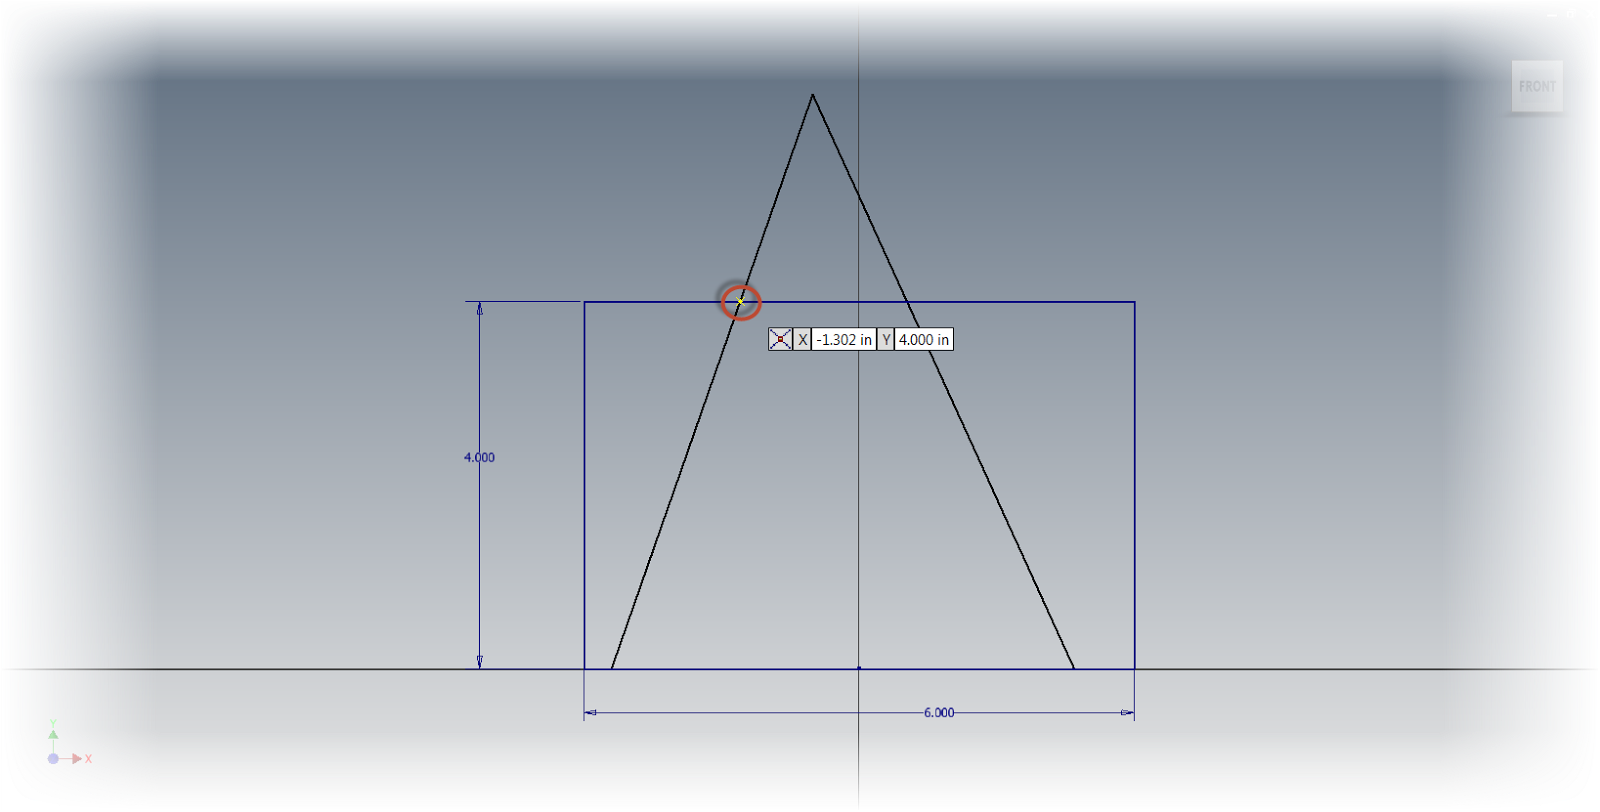 |
| Snapping to the intersection |
3) Click! The point will snap automatically! Place as many points as are needed.
 |
| The point placed |
4) Dimension and constrain away! That's all that there is to it!
 |
| Now dimensions and constraints are added |
If preferred, right clicking while the point tool is started will also bring up an option for Point Snaps. This option allows for choosing a snap to use, including Intersection, Midpoint, and Center.
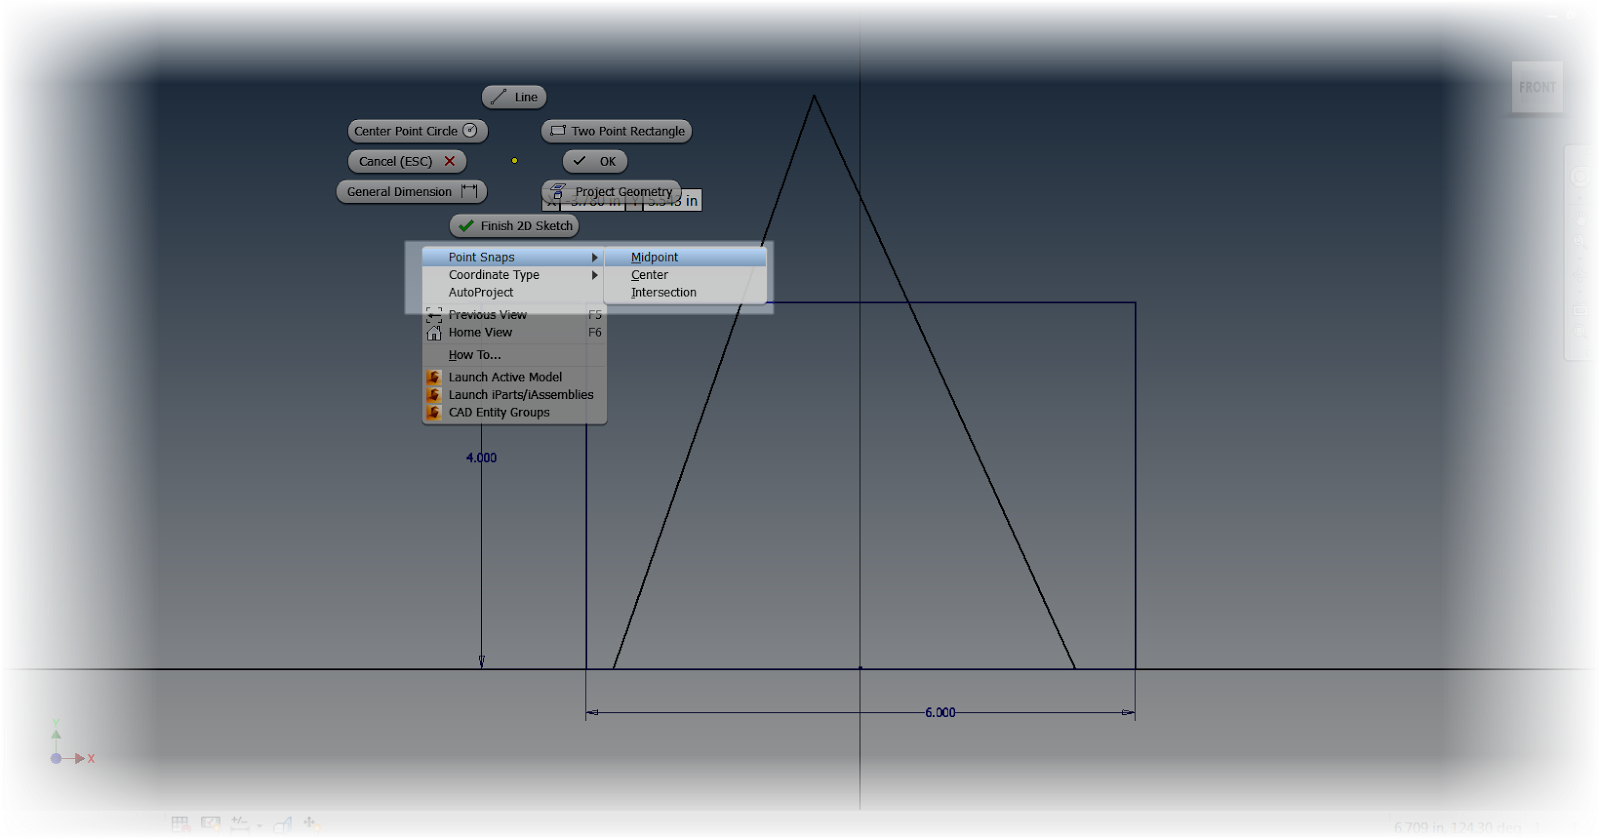 |
| Showing the right click options |
They're a slick little tool that can be a lot of help!
No comments:
Post a Comment