Welcome to Part 5 of FlexNET Publishing. In the my last blog post, Part 4, we created a network deployment. Now, we'll pull it to a client system.
The first step is to go to your client machine, and browse to the location where the network is stored.
 |
| The location of my deployment |
Browse down into the folders, and we'll find a shortcut with the same name we used when we created the deployment back in Part 4.
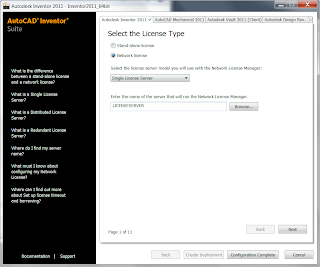
Double Click to start running the deployment. Since we set this deployment to be non-silent, we'll see the same screens we saw in when we created the deployment, with the same settings we used when we created the deployment.
We can accept these as defaults (which is the most common), or we can override them to different Serial Numbers, installation locations, etc.
 |
| A sample of the screens you can change during the deployment. |
 |
| Install complete! |
That's it. The install is finished, and you can start Inventor (or whatever product you're using).
So before I close things out, I'll leave you with a couple of tips.
1) It pays to double check the settings the first couple of times you pull your deployments. You never know when you might find that last little setting that needs to be changed.
2) Pull to one or two clients, then run the products to make sure they're working correctly. It can be tempting to 'set it and forget it', and pull several deployments without spot checking. But there's no worse feeling then finding out that something is wrong after you've pulled ten clients, then realizing you're going to have to uninstall them and do it all over.
3) If you realize you've made a mistake on your deployment, all is not lost. You can go into the "Tools" location of deployment and choose the "Create & Modify a Deployment" option. You can then go through and change your settings.
 |
| Modifying your deployment |
So there you go! License installed, deployments built, and deployed!
But we've really only scratched the surface of network licensing. There is much more that can be done. In our next blog, we'll talk about options files, and how you can use them to manage the use of your license files!

No comments:
Post a Comment