
Larry Vanderhoef
When I meet and Autodesk Inventor user, I'm often asked, "Do you know how to change behavior "X", in Inventor?"
Sometimes I know the answer, sometimes I don't know the answer, and sometimes, I just have to give it a go!
Earlier this week, was one of those times.
The question was "When I click on the View Cube to change a view, Inventor zooms out, do you know how to change that?"
The Inventor user asking the question had a good reason to ask. The assemblies she worked on were large in dimension, and when rotating on the view cube, Inventor would zoom out, forcing her to zoom back into the area she was originally working on.
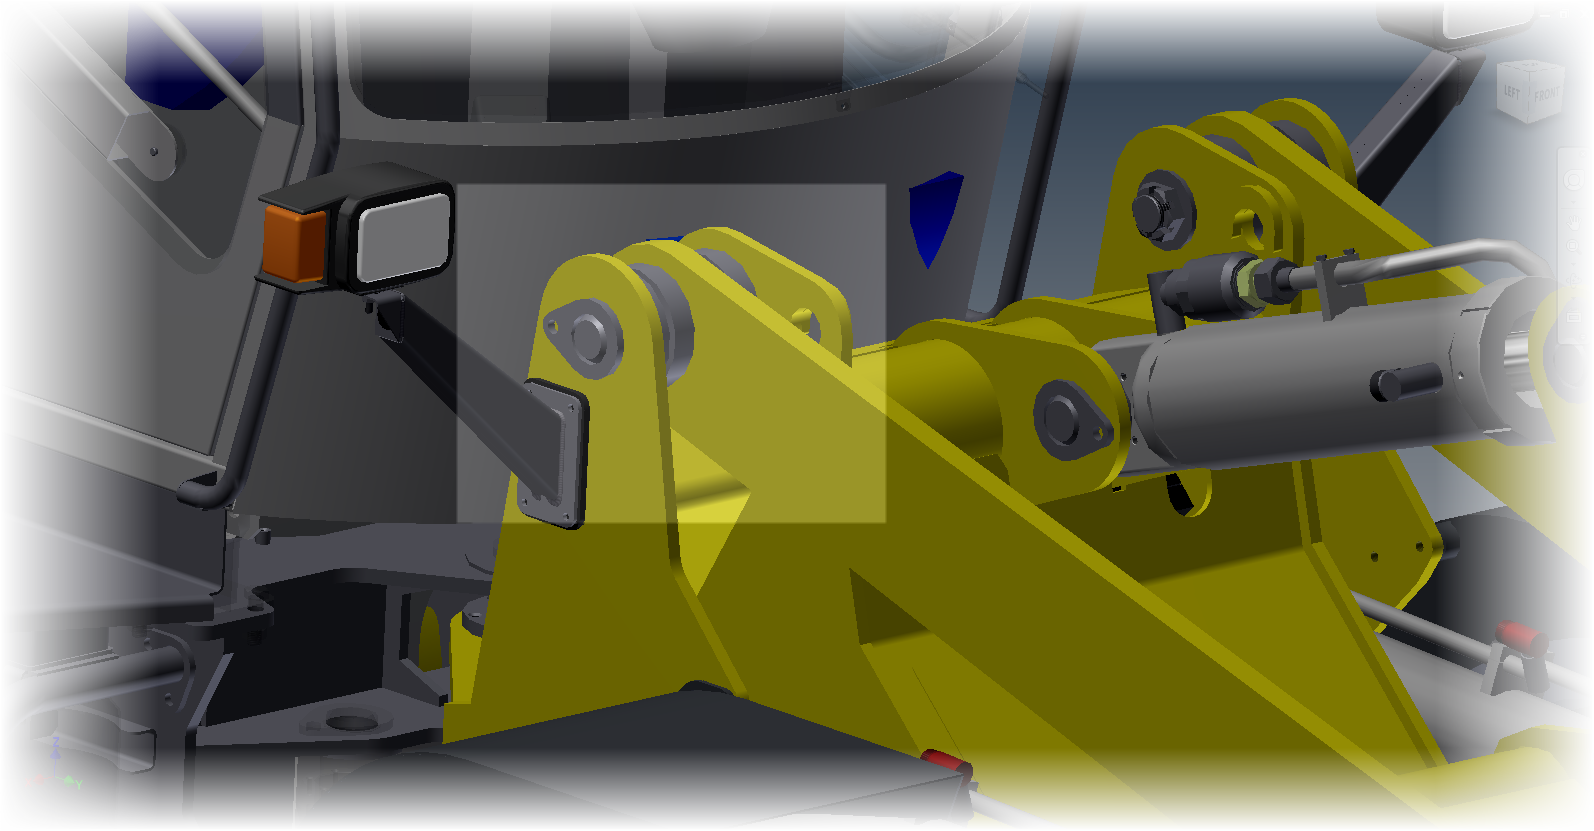 |
| Imaging working on this area in Inventor |
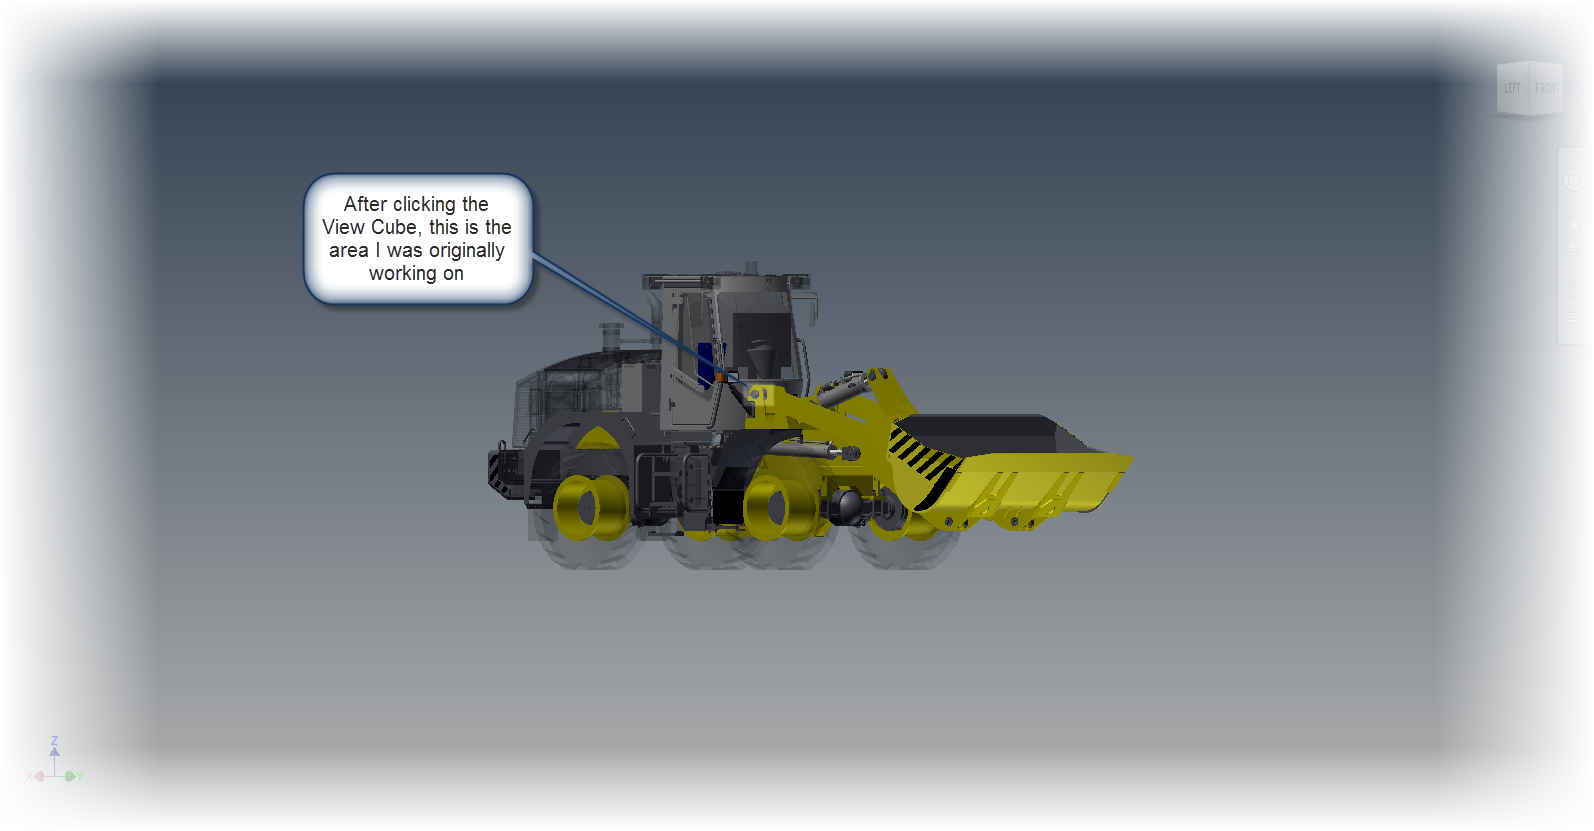 |
| Then having it zoom out like this when the View Cube is used |
The fact was, I didn't know the answer to this one off hand. I use my 3DConnexion device for navigation, so I don't mess with my View Cube settings much
But I said, "Let's give it a go!"
Fortunately, the solution isn't that difficult. It's within easy reach.
The first step, is to right click on the View Cube, and choose "Options".
 |
| Right click on the View Cube reveals optoins |
This will open the View Cube Options dialog box. When the dialog box opens, find the "Fit-to-View on view change" options, and uncheck the option.
 |
| Unchecking "Fit to View on view change" |
Now, when clicking on the View Cube, the zoom factor won't change.
This means that the amount of zooming goes way down. Now a few pans will keep the area in view and centered.
Note the images below where I used this new setting. I've used the View Cube to rotate the view in Inventor, without correcting it using the Pan tool. Also notice the location of the area in the box. It stays in view now.
All it takes is a quick pan to center it, and your back in the 3D Modeling game!
 |
| Starting here and clicking on the View Cube |
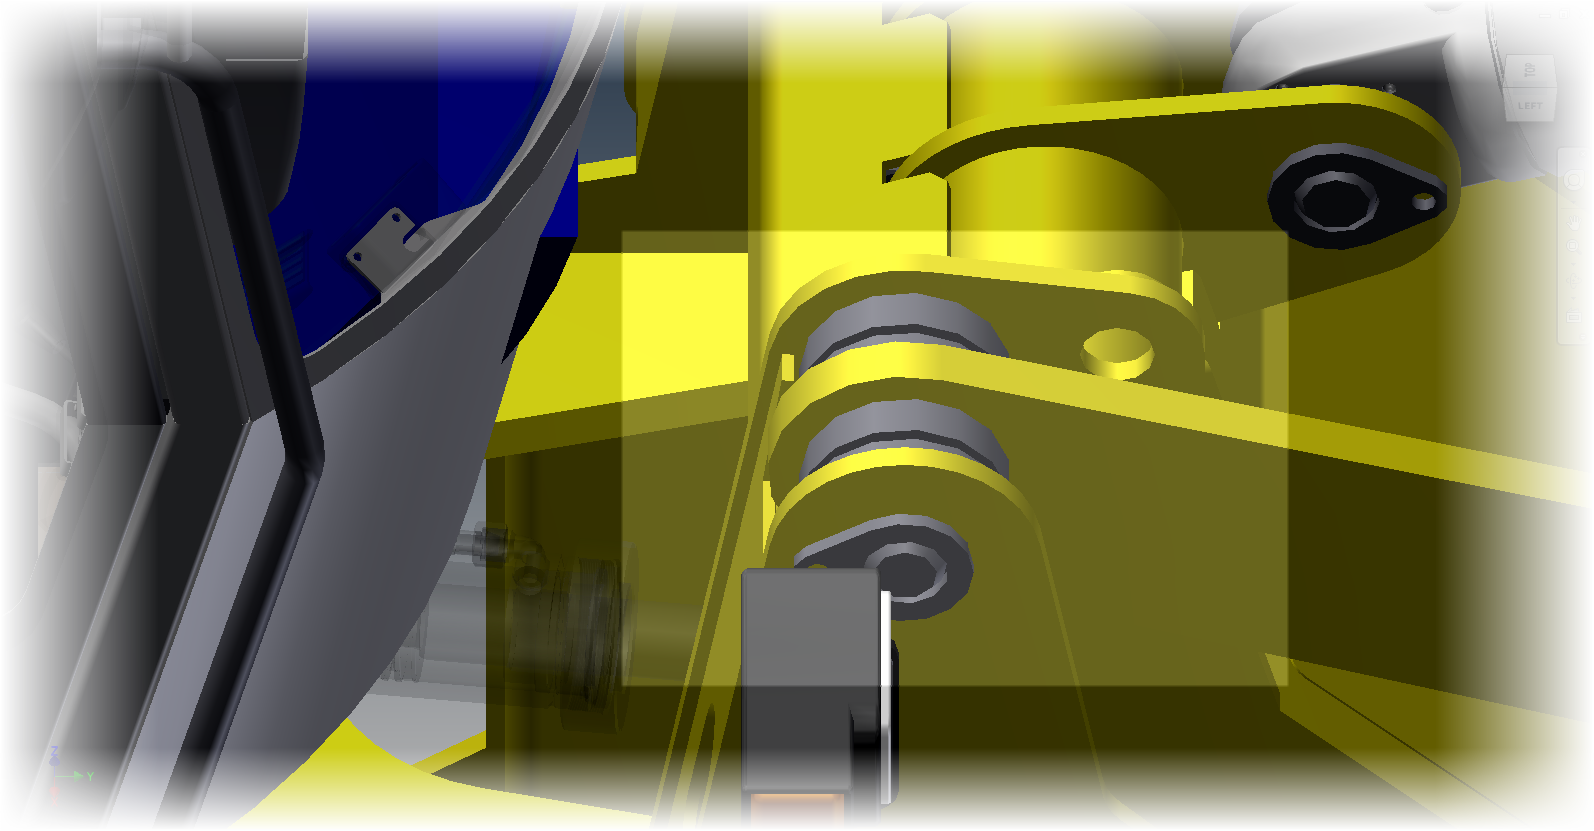 |
| Now brings me to here! |
And if you prefer this tip in video form, take a look below!
Jonathan,
ReplyDeleteI prefer to have the cube zooming all when changing but if you don't want it to do that, select a part first and then click the cube to rotate the screen against your selected part.
ADS
Nice tip, Adrian. Typically, I use my 3DConnexion device over the View Cube, but I know that's not everyone's cup o' tea. :-)
DeleteLove my 3DConnexion as well.Wouldn't think of doing anything in 3D without it.
Delete