
Kim Williams
There are times when I find I have to take a series of Autodesk Inventor files, and collect them for electronic transmission. It can also be used to archive projects, although these days I use Vault for that mostly.
The tool I use to collect these series of files is called "Pack and Go". Pack and go scans an inventor file, looks for the files it uses, and puts them in designated spot where they can be zipped and sent out.
For this blog post. I'm going to borrow my Router Jig that I I like to use for one of my common examples.
 |
| My Pack and Go example today |
- I think one of the most direct ways to start the Pack and Go Operation is to have the assembly open. The Pack and Go utility can be accessed from the Applications Icon (the "Big I")>Save As> Pack and Go.

- The Pack and Go dialog will open up. The first thing I like to do, is expand the dialog to it's fullest by clicking the "More" button. This makes sure I have all the options available to me. Even though they may be grayed out at first, they'll light up a few steps later!
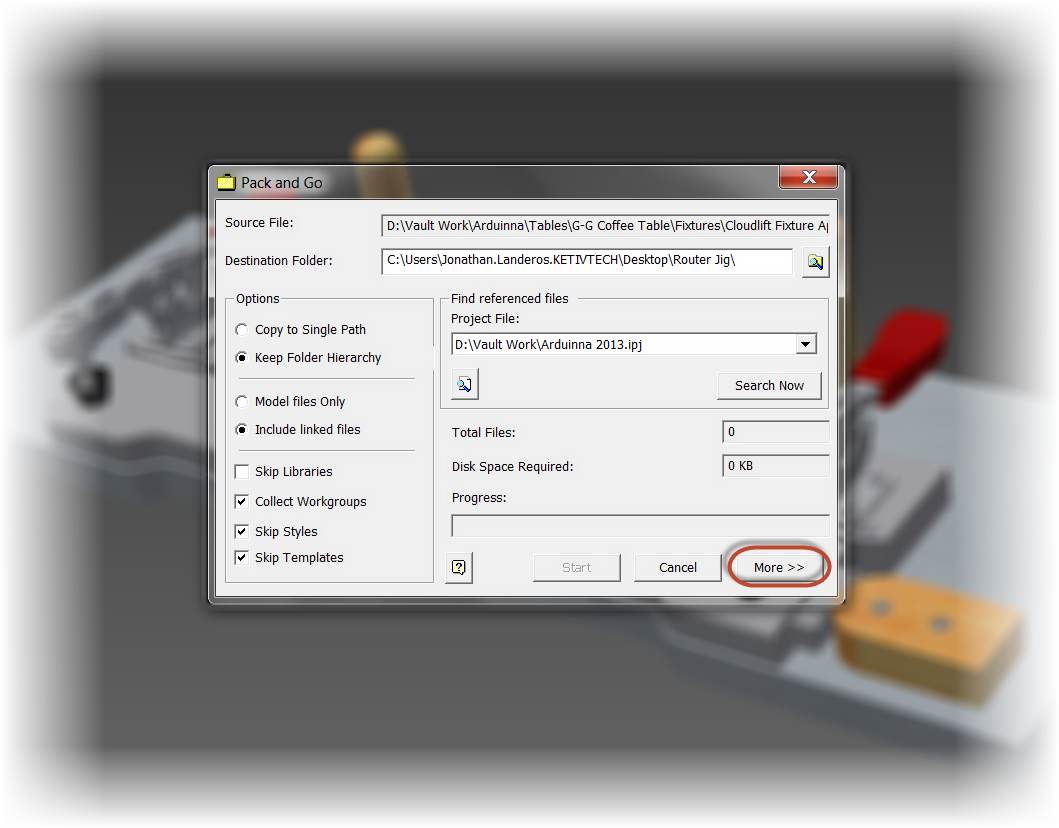 |
| Click "More" to see all options |
 |
| There's an additional search that gets used later! |
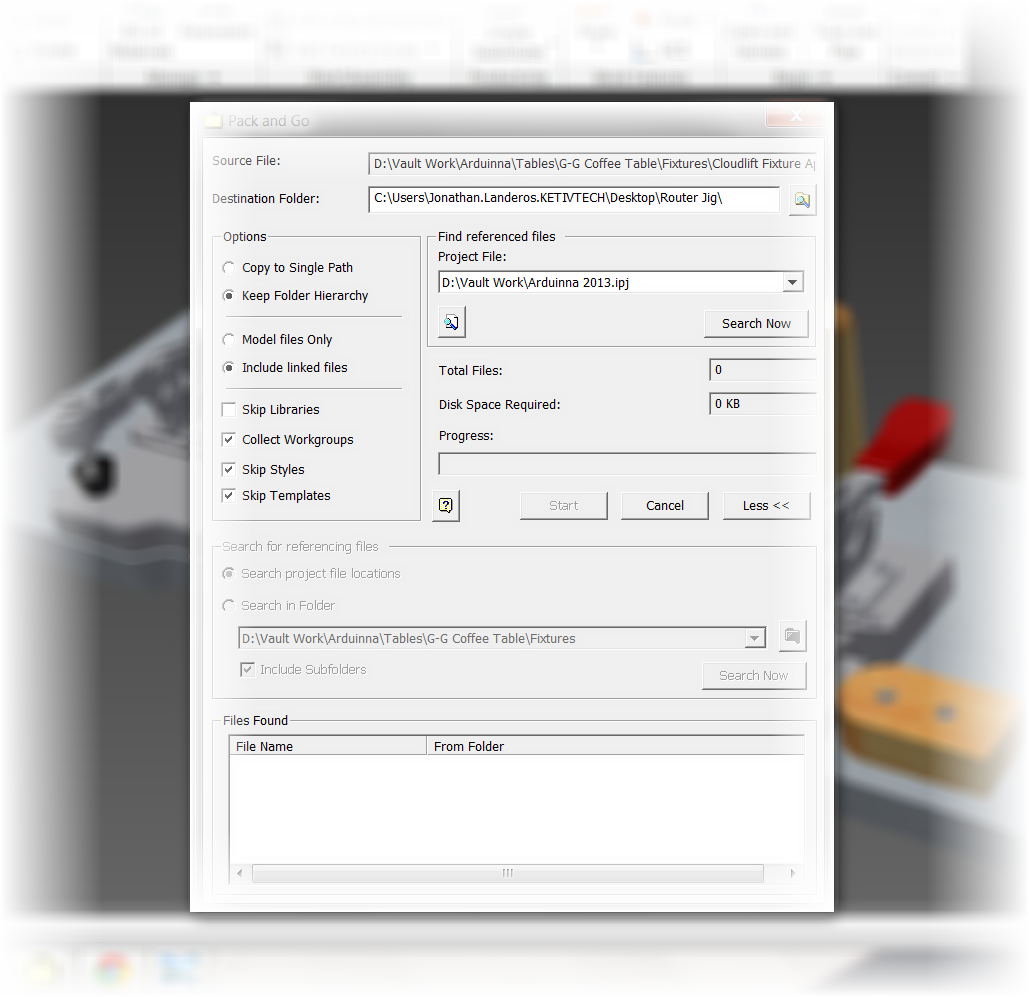
- Now I choose my options for my Pack and Go operation. Here are the options I typically use, although yours may vary based on what you're desired output is. The help system has a good reference for the settings, so that's where all the good info can be found.
Destination Folder: Usually I just use my desktop. Typically once sent, I delete the packed files.
Copy to Single path (checked): I like to consolidate my files as much as possible.
Include Linked Files (checked): This includes linked "non" Inventor files such as Excel, or text documents. I check it just to make sure I don't leave any out.
Skip Libraries (checked): This makes sure I get any files in library locations. I like to make sure I get everything I can.
Collect Workgroups (checked): Collects files in workgroup locations into one location when packed. I check this because just like above, I like consolidating.
Skip Styles (checked): Leaves out the styles. Leaves the styles behind. In most cases I don't need them, and they just add to the megabytes I'm trying to send.
Skip Templates (checked): Just like the styles, I usually don't need to send them, and they usually take up space.
 |
| All set and ready to go! |
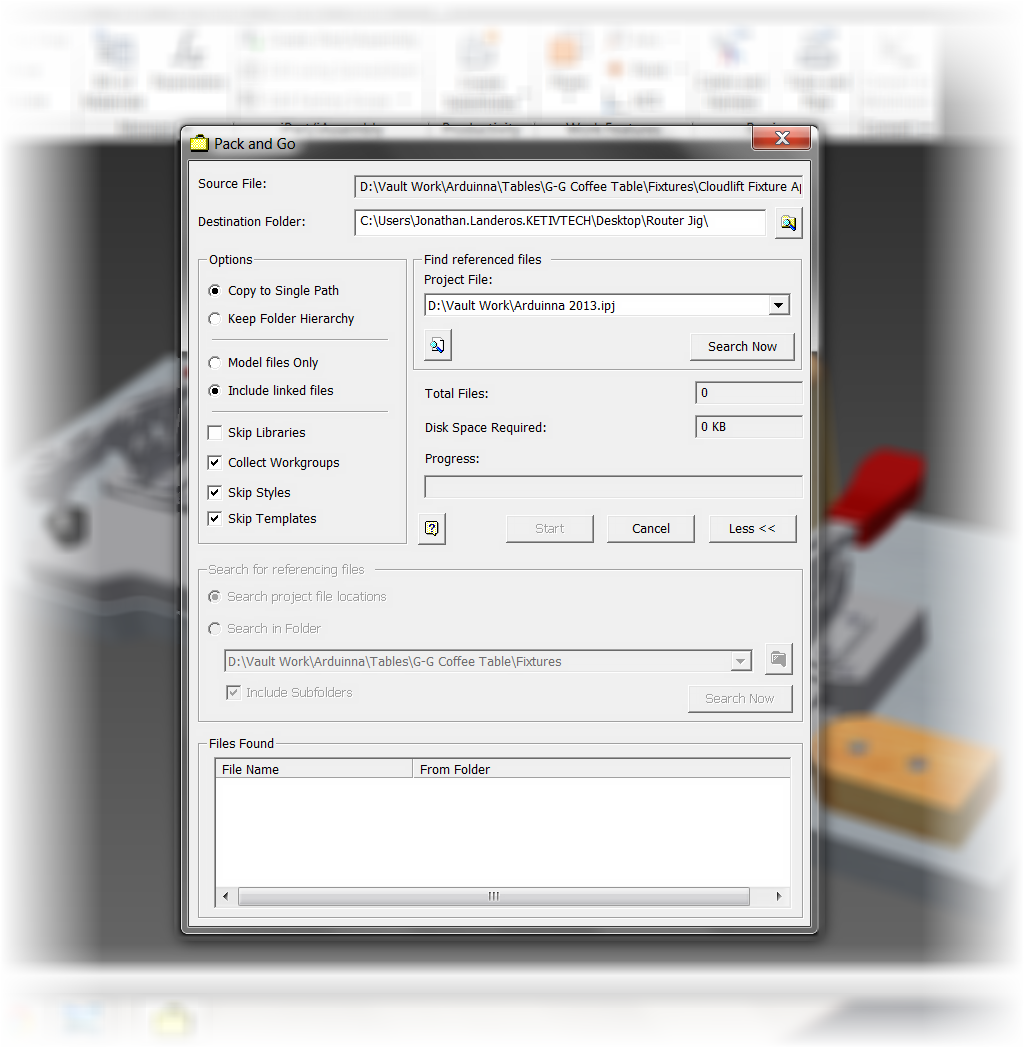
- Now I finally hit the "Search" button. Pack and Go will find the files associated to the assembly I chose.
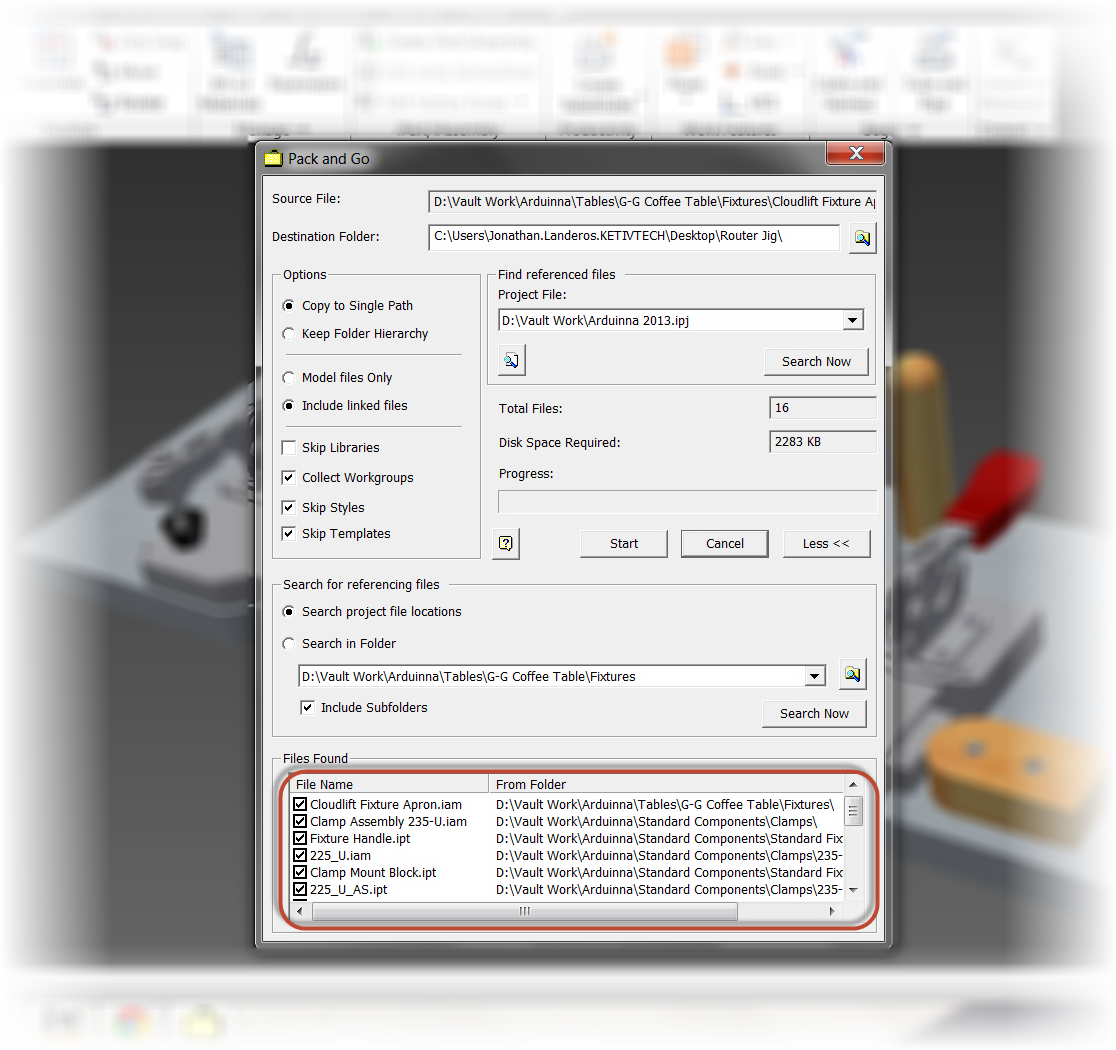 |
| The files that make up this assembly. |
- Now, I want to make sure I get the drawings, and any presentations that this assembly uses. That's where that second "Search" button comes in. Notice it's "lit up" now? This is the step where I click it!
It will give me a list of which files it's found. I can choose which to include. Then include them by clicking the "Add Button".

- Now all that's left is to click "Start"! The files will packed to the location I choose. All I have to do is hit "Start" and the files are away!
 |
| The files are ready to go! |
- Opening the destination location shows me the files I've sent out. The Pack and Go tool will create a log summarizing the files sent. It'll even create a new project file that can be used to organize the files on the "other side". Now all that's left is to zip them and send them on their way!
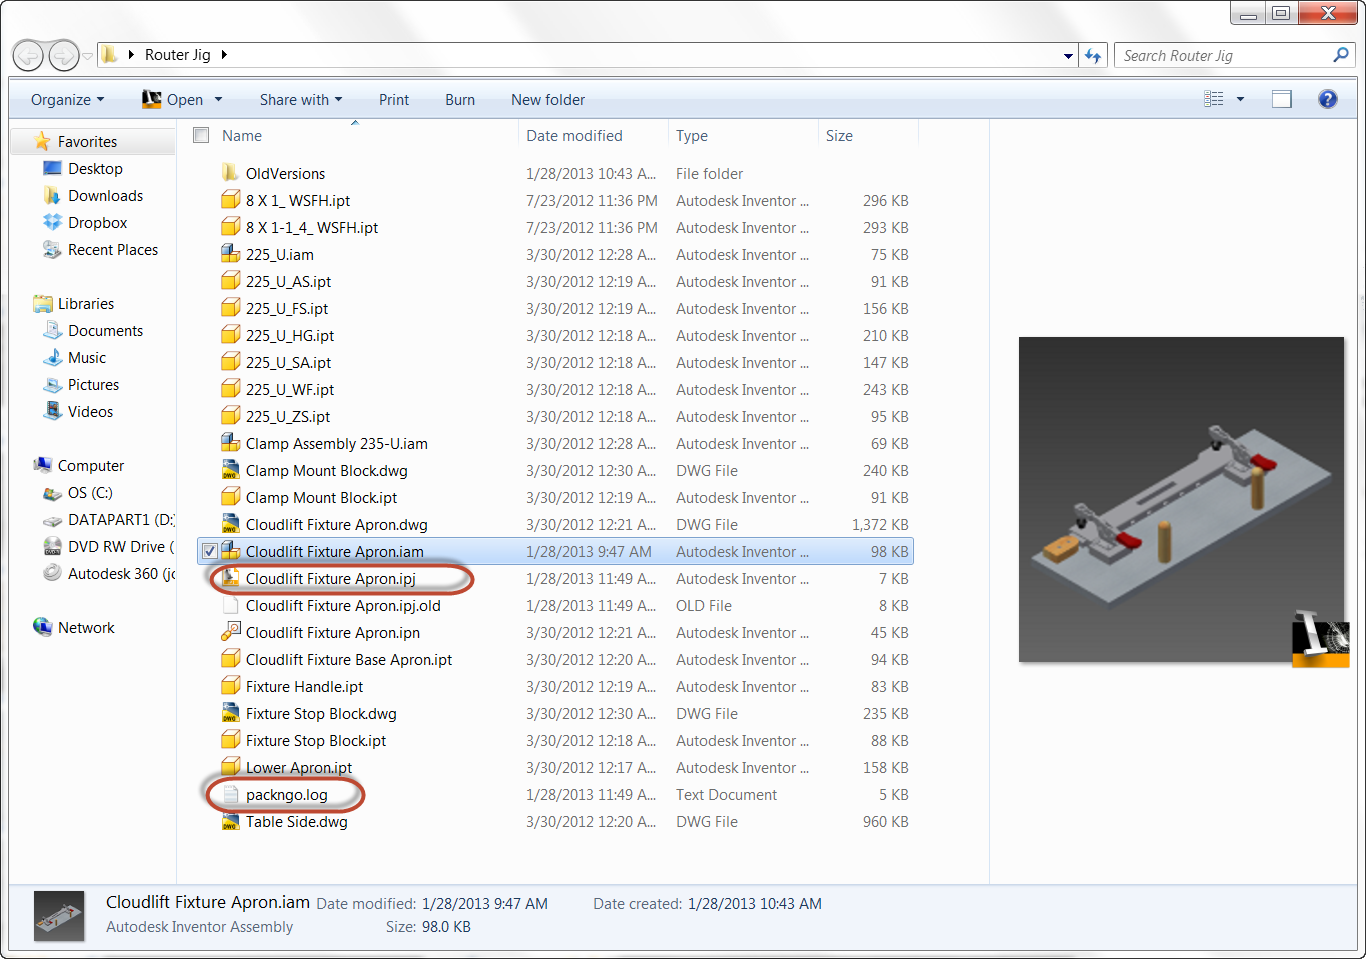 |
| Ready for shipping! |
 |
| Another way to Pack and Go., |

But it's still valid nonetheless!
And to see the steps in a video form, take a look below!
No comments:
Post a Comment