
Aaron Eckhart
One of the things Autodesk Showcase can do is publish renderings both locally, and to the cloud via Autodesk 360.
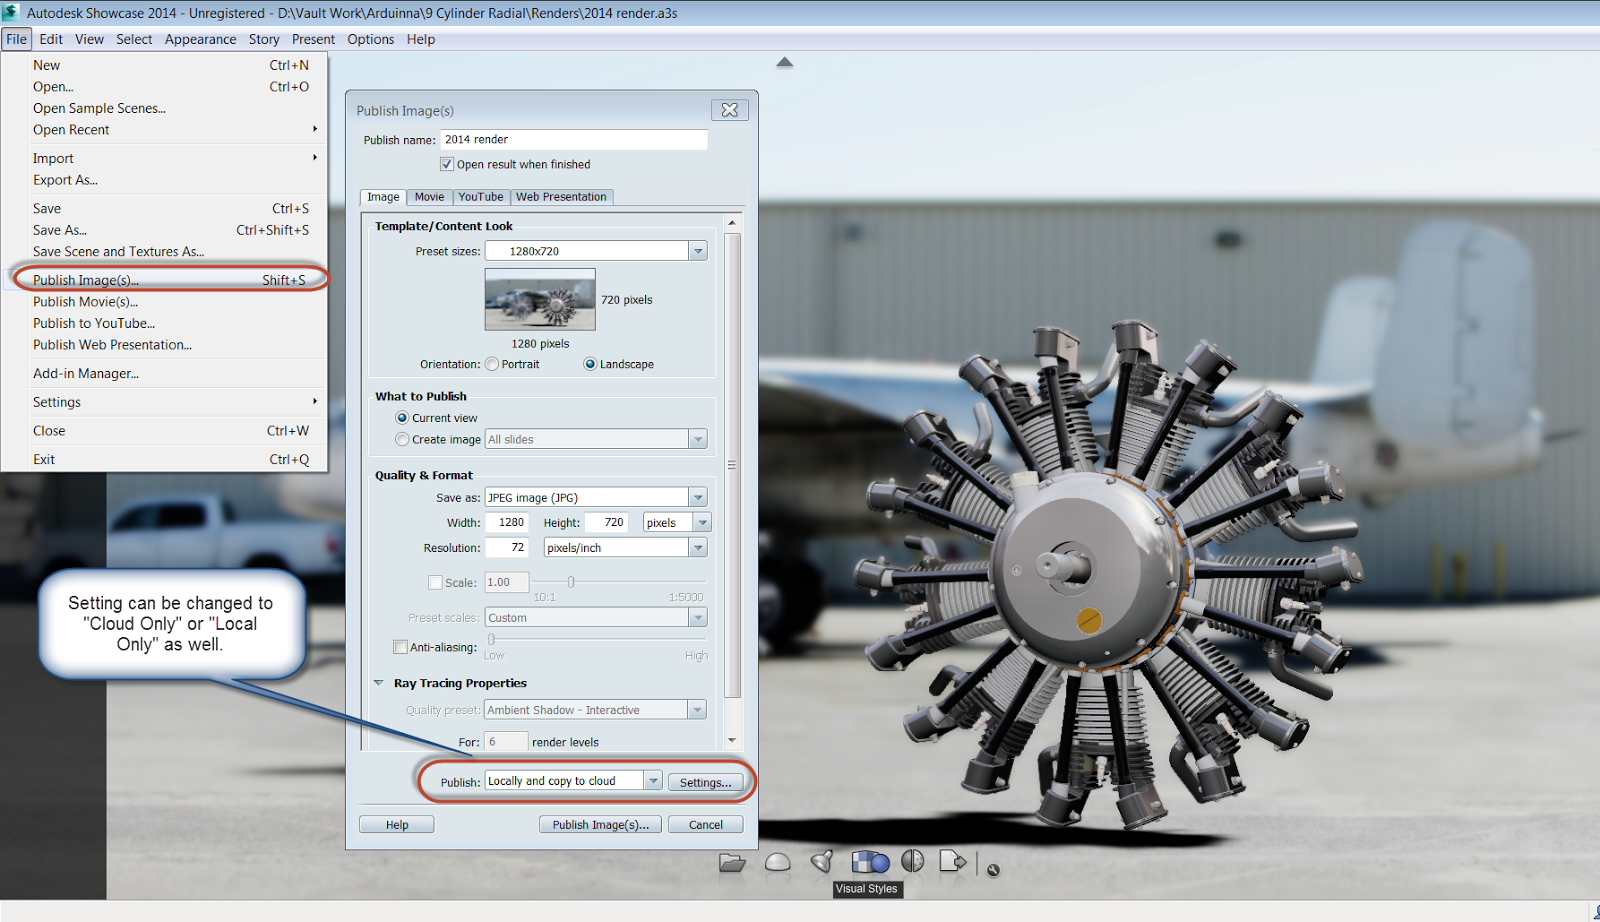 |
| Rendering an image both locally and to the cloud |
It also contains tools from Autodesk Pixlr, which allow for additional photo editing to the image even after it's been rendered from Showcase. So additional effects to make for a more eye-grabbing image can be created if desired.
Before, I only knew this tools to be available for mobile devices, I hadn't realized they'd made their way to Autodesk 360 too!
These tools can be access by using the "Actions" pull down in Autodesk 360. There the tools Pixlr Editor (Advanced) and Pixlr Express (Efficient) are located.
Below I'm using the scene I used from my previous blog post on the "Depth of Field" settings in Showcase 2014.
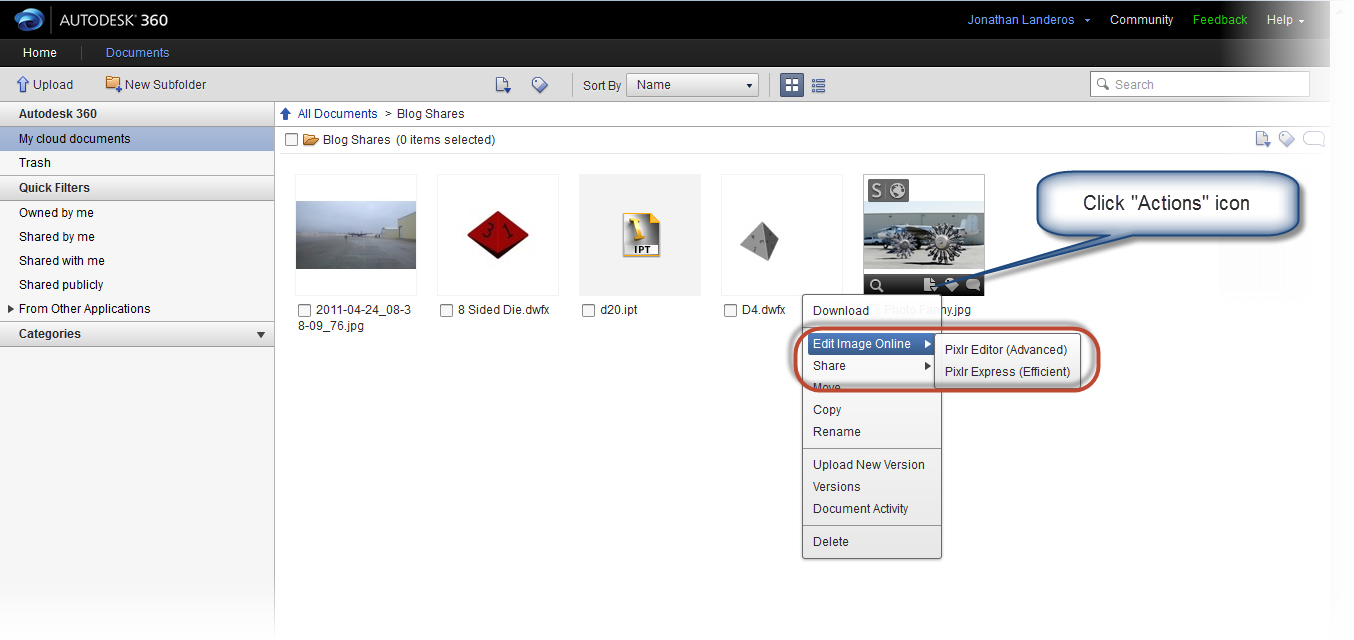 |
| Choosing the editor |
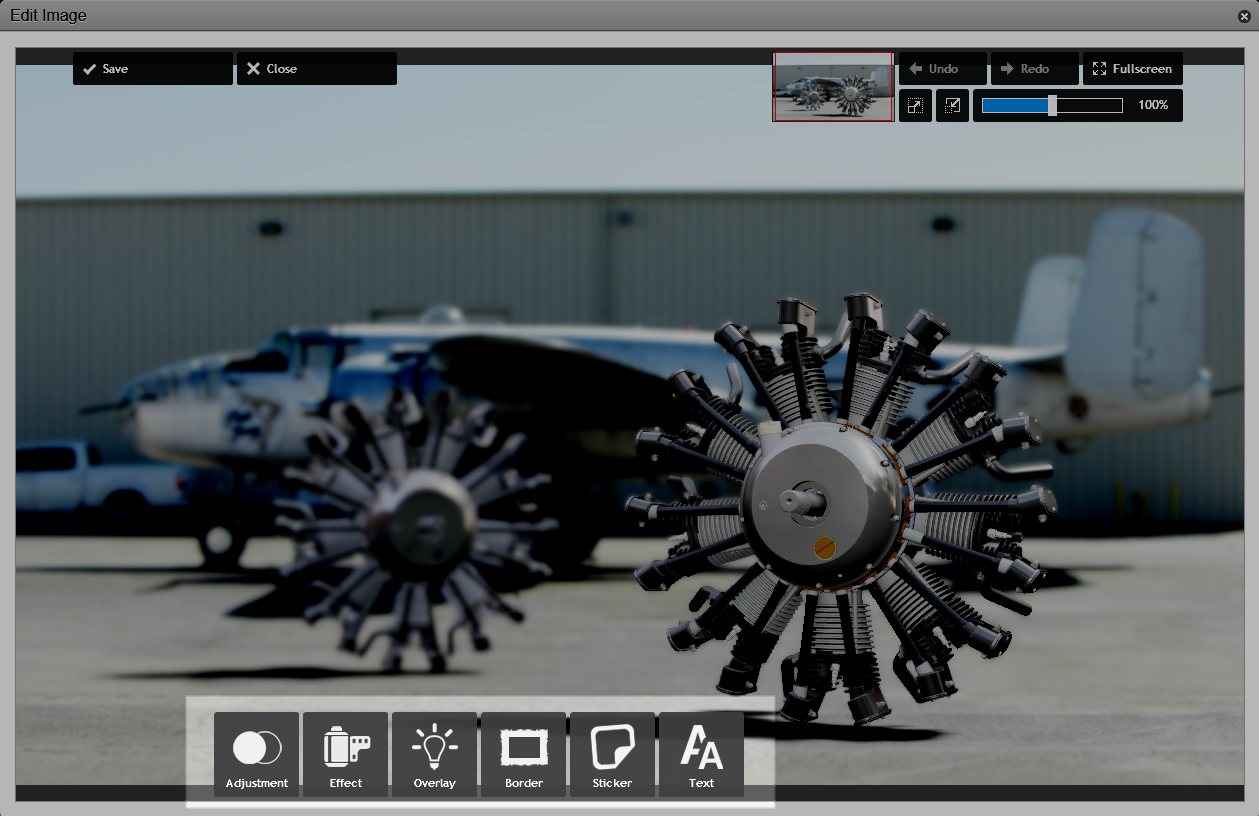 |
| The effects toolbar |
Adjustment: Find tools like, Rotate, Blur, Resize, Rotate, etc. to images.
Effect: Tools to soften, age, make unicolor, etc. to images.
Overlay: Overlay effects like Flame, Fireworks, and more.
Border: Add several different borders to the image
Sticker: Several "stickers" are available to place on the image.
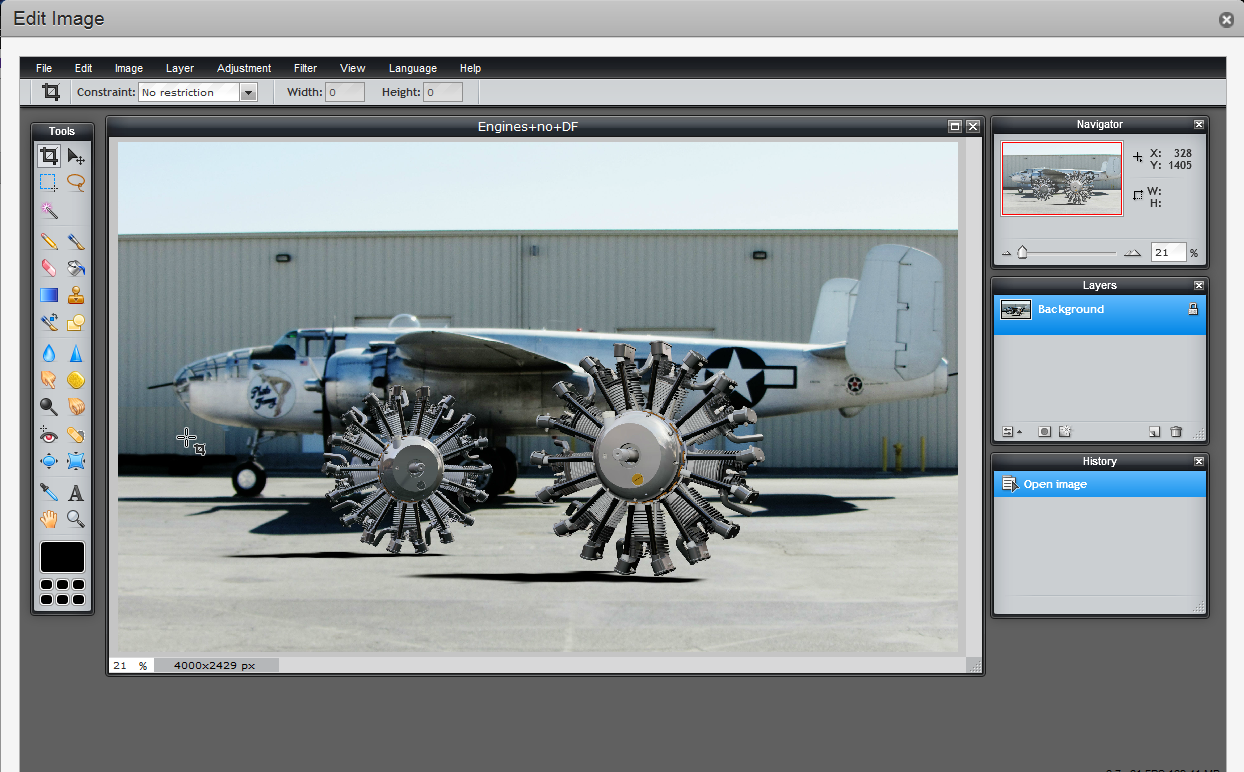
Below is an image in the process of having an effect added.
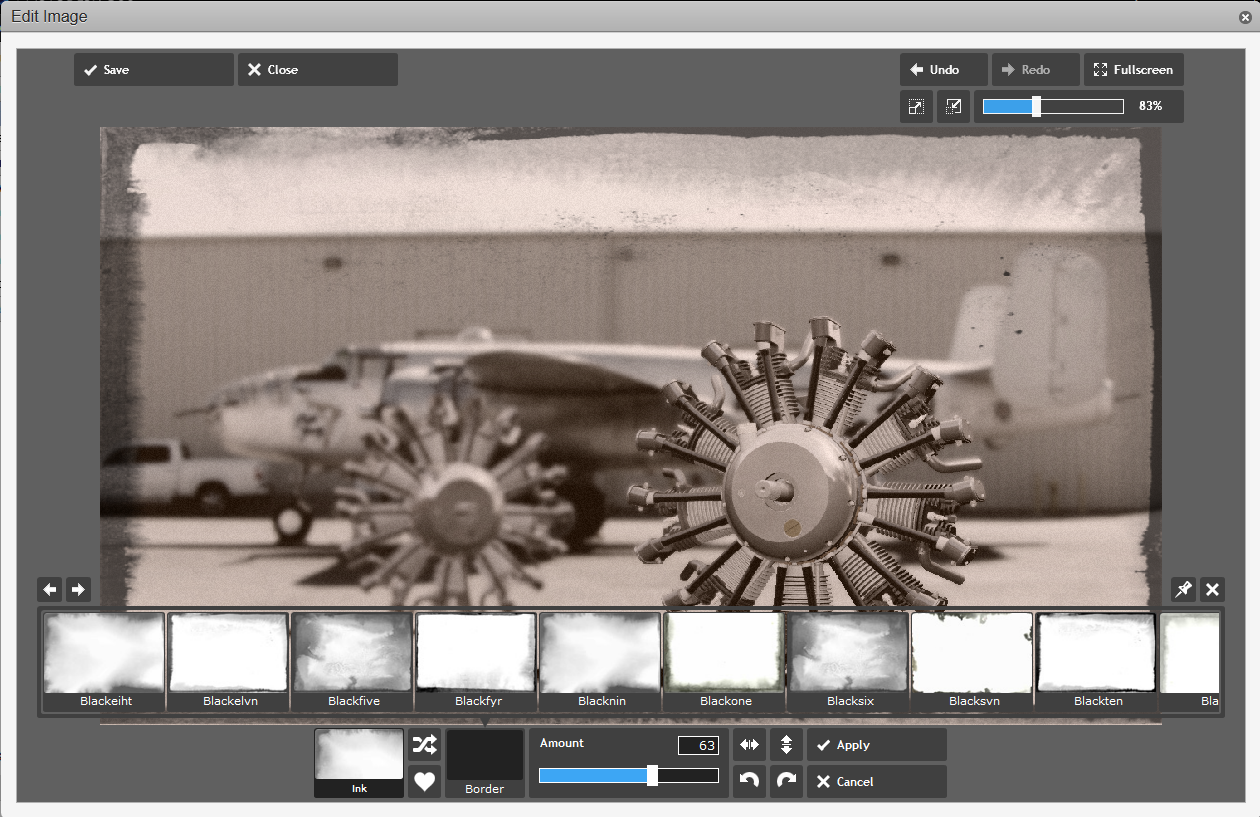 |
| Editing the image. |
Below is the completed image, with an aging effect and a border added.

And don't forget, there's also Pixlr Editor, which adds a lot more tools for even more photo editing options!
 |
| Pixlr Editor for more editing tools |
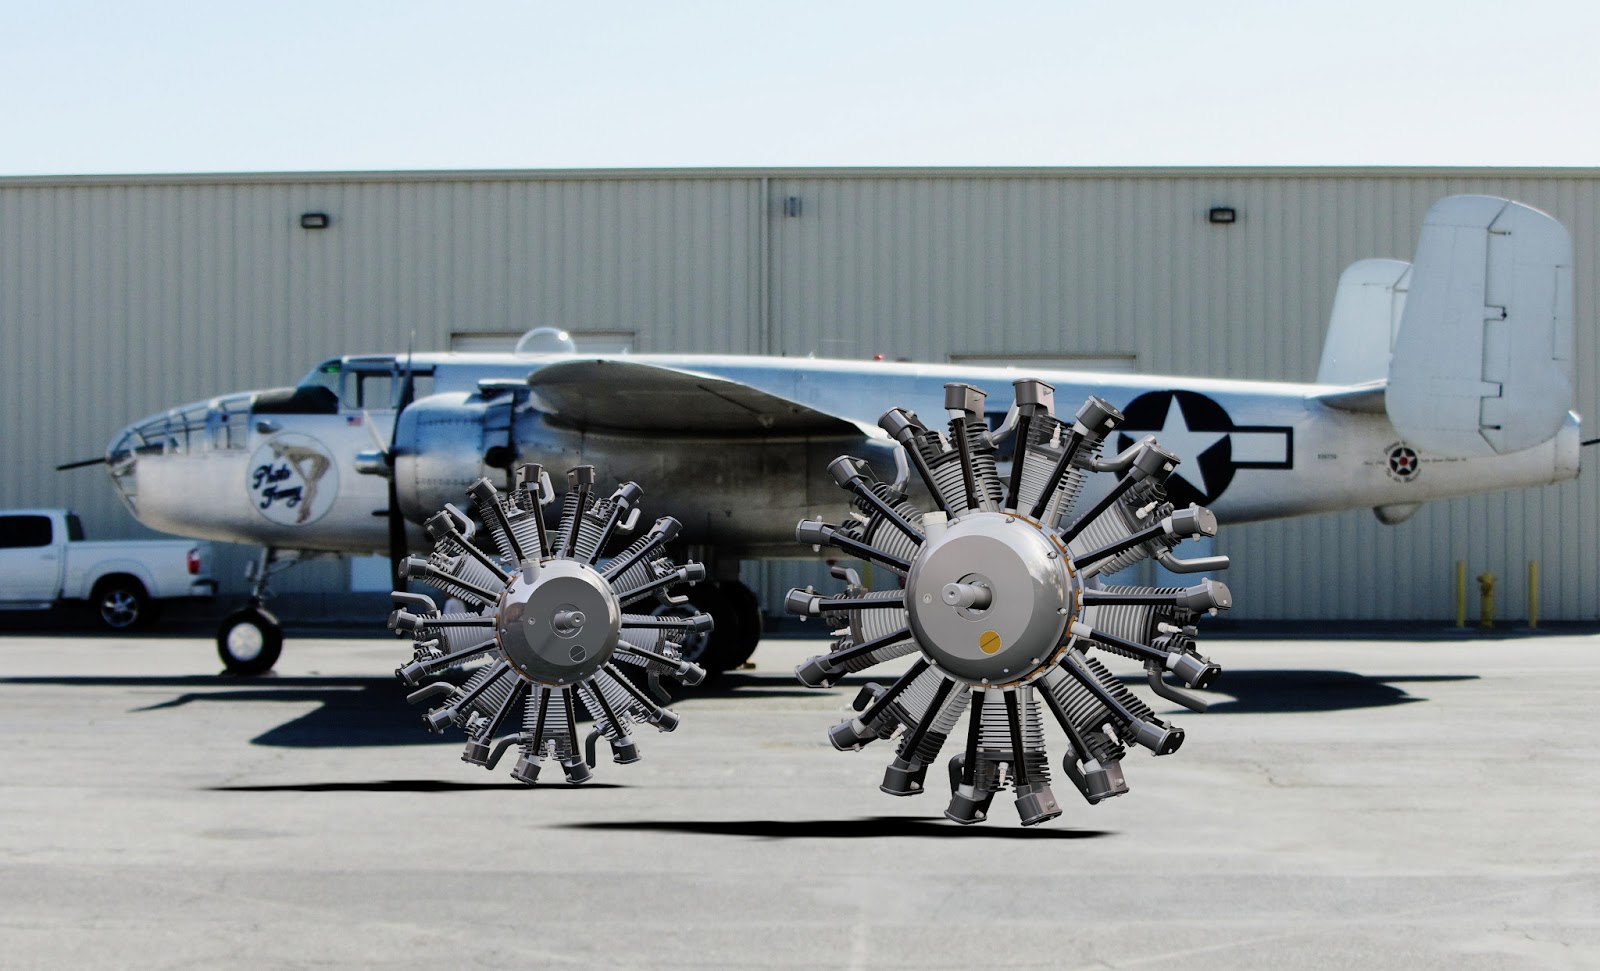 |
| Note the truck in the background on the left side. |
I'm not much of a photo editor, so it's not difficult to see my edits. Someone with a little more skill can do a much better job.
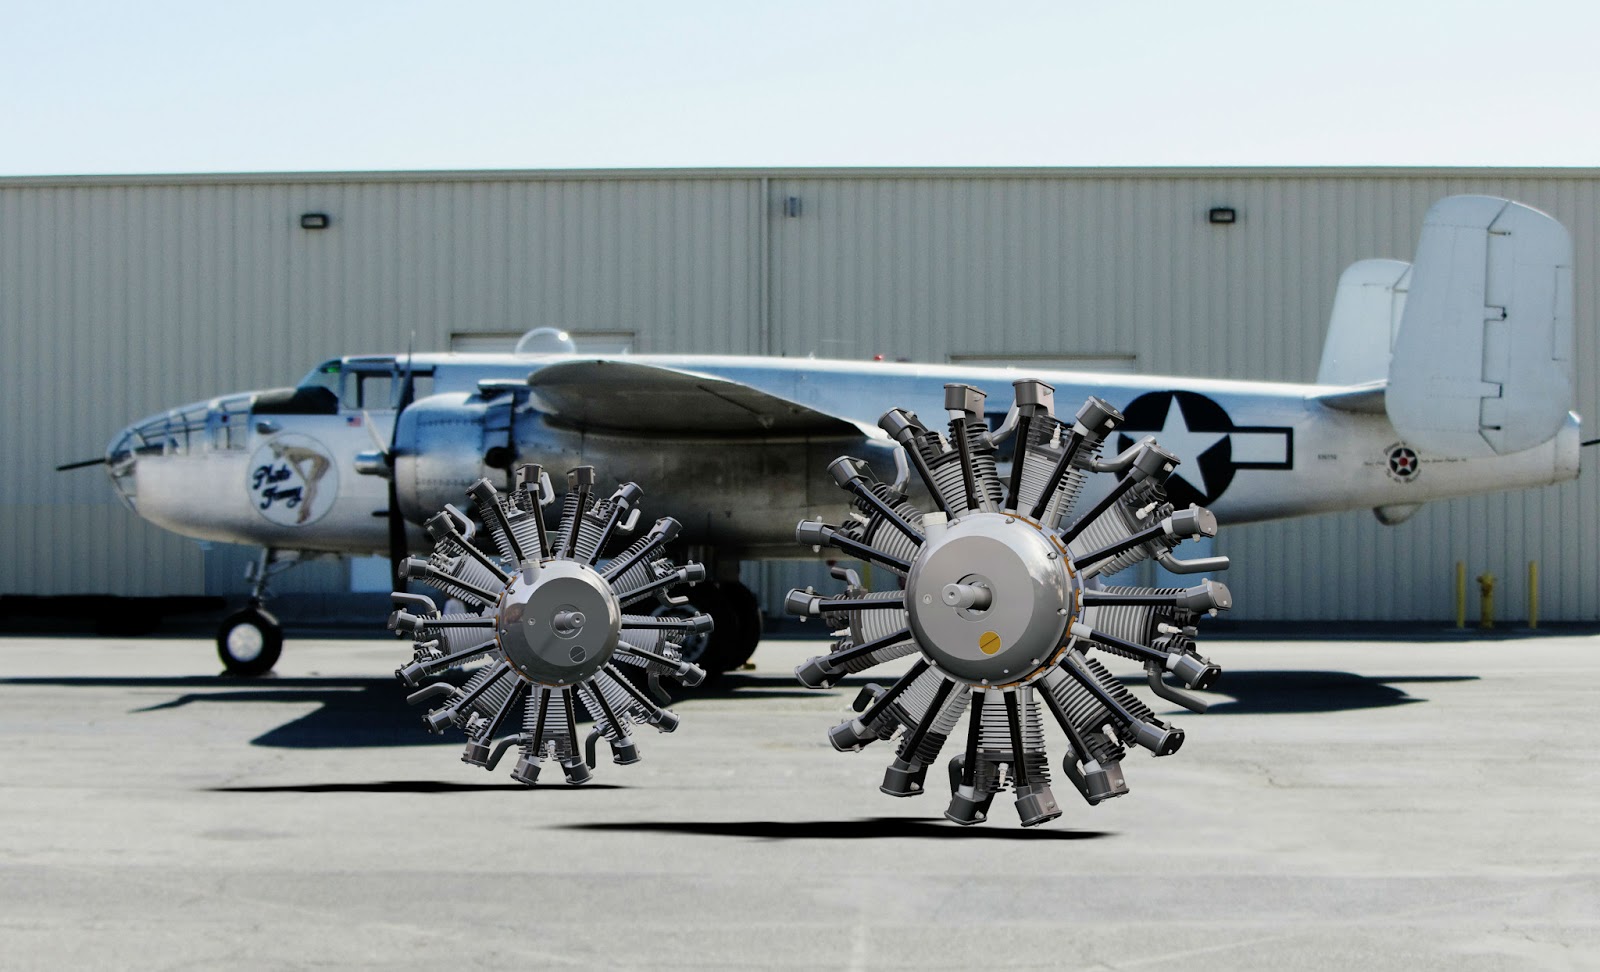 |
| The truck hidden! Even though the user's skills aren't very good! |
And on a final note, everything I've done has been using Autodesk Showcase, but any image can be edited. So that means images created from an program, or even a photograph can be manipulated.
Below is an image I took in Lake Tahoe in Summer 2012.

And now one with a few effects added.

All that's left is for you to give it a try!
No comments:
Post a Comment