
Larry Ellison
***********************EDIT April 22, 2014*******************************
Added video to accompany the text description
**********************************************************************
Ah. Software updates. I'm always excited when the time comes to install my new Autodesk software. There's new features to try, after all!
But as always, there are options that have to be selected.
So for this post, I'm going show the options that I use for install, as well as explain some of the other choices that might be used.
I can't cover every last detail, but perhaps what I can show can help you plan your own installation.
Before I start cranking, I should point out I'm installing from Factory Design Suite Ultimate 2015. So if you're installing a different Autodesk software, some of the options may be different.
But even if you're not installing exactly the same product, there should be similarities!
1. To begin the install, click on Setup.exe to being running installer.
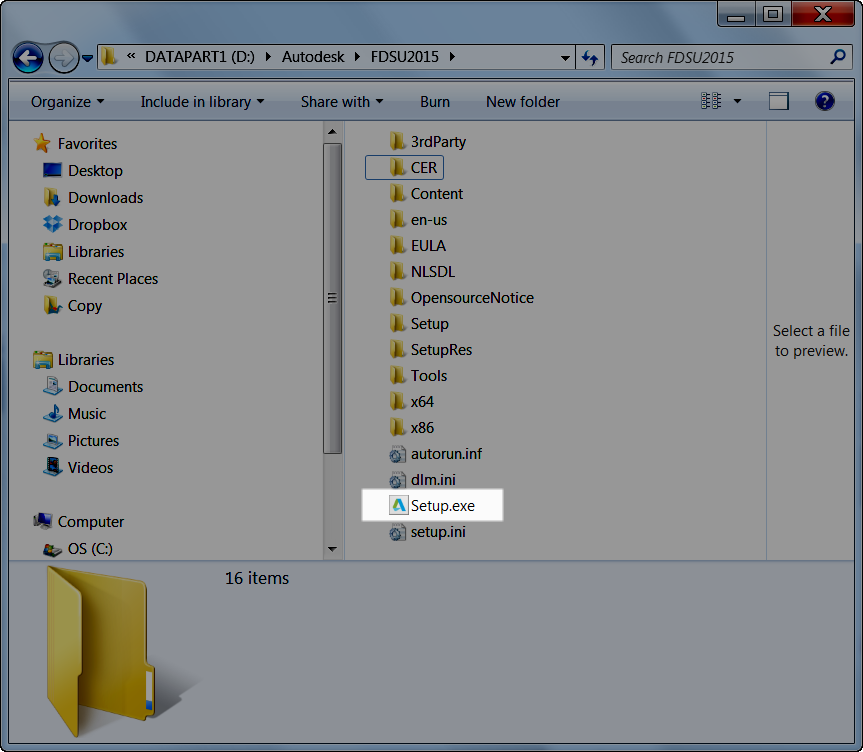 |
| The Setup.exe file. Pulling the trigger on the installation. |
2. This starts the installation. Soon, the first installation screen appears.
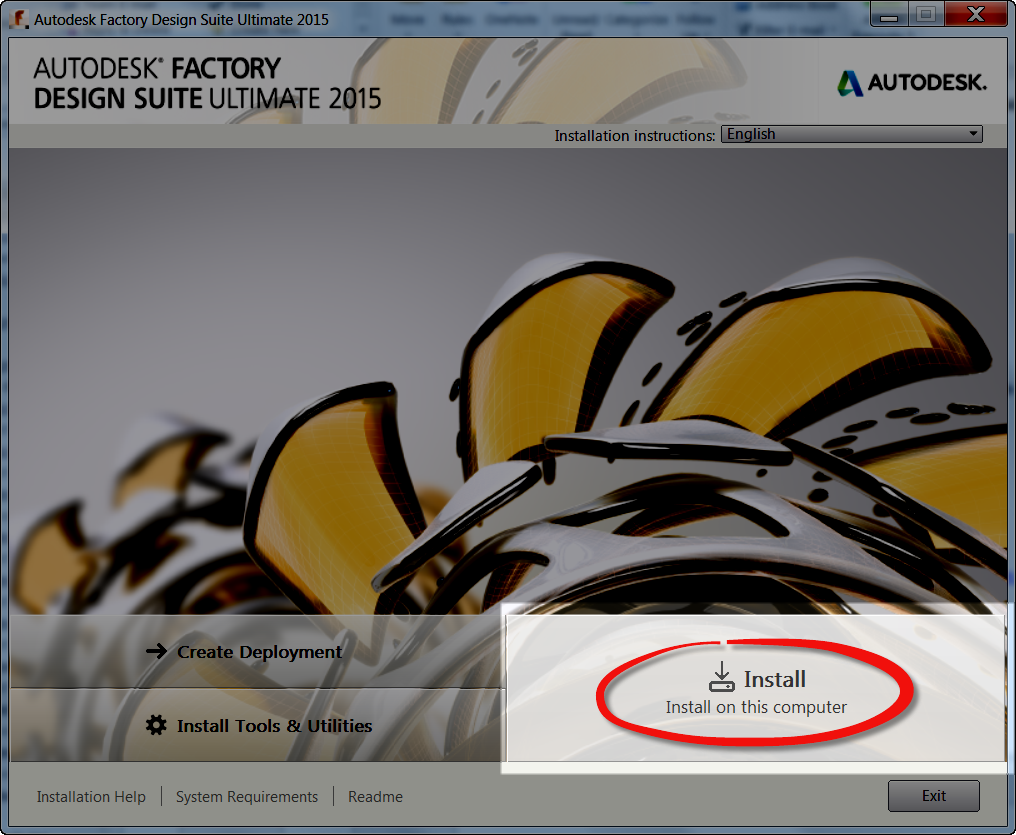 |
| Clicking the option to install to my laptop |
For my configuration, I'm going to choose the Install option. But here's a brief description of the other options.
Create Deployment: This option is used to create network deployments. This is an install that's configured with a script. It can be pulled to different users machines and make sure consistent settings are used for different machines.
Install Tools & Utilities: This contains the Network License Manager, CAD Manager Tools, and Vault Basic Server, among other tools
Choosing the Install option, I move onto the next screen. This is the End User License Agreement (EULA). It's legal stuff. You have to accept it. 'Nuff said.
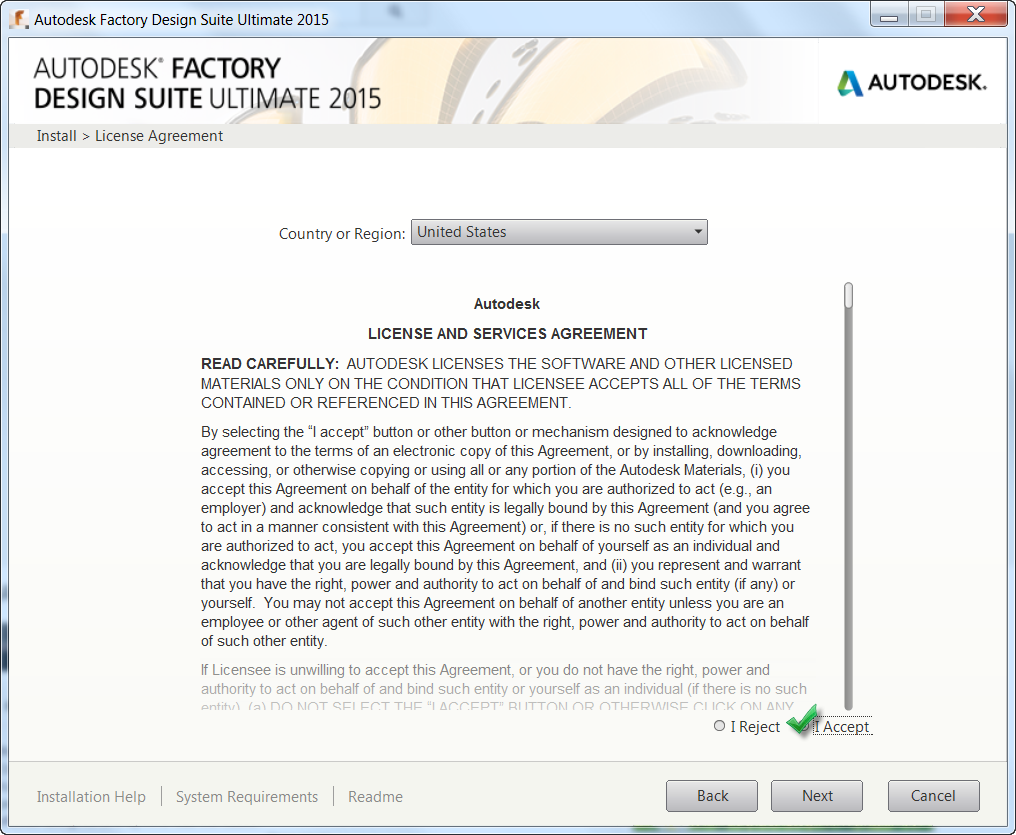 |
| The EULA. Just say "Yes". |
3. After accepting the EULA and hitting next, it's time to choose the license type.
One choice is a Network License installation, where a server holds the license, and the installation "pings" the server for the license.
Since I'm installing on my laptop, I'm going to choose a Stand-Alone license. Also known as a Node Locked license, this will tie the license to the hardware on my laptop.
This screen is also where the serial number and product key are entered. You'll get your serial number and product key from Autodesk. (You can't have mine. Get your own!)
Note! Your 2015 Product Keys can be found at this link!
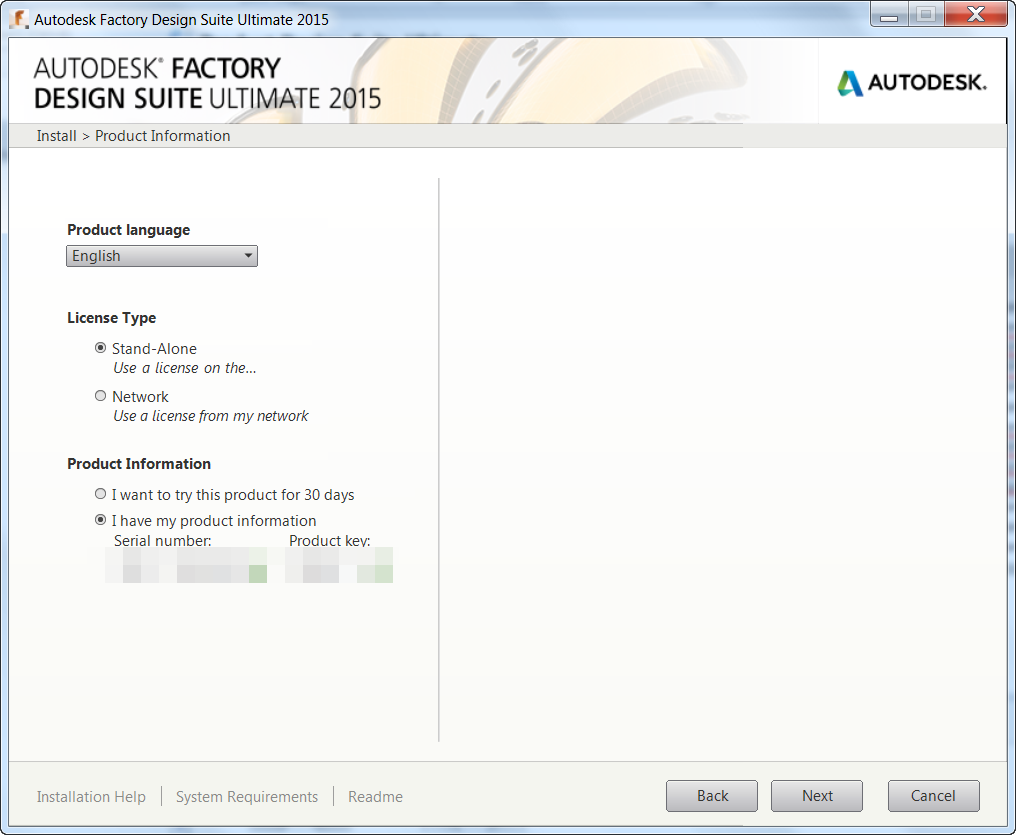 |
| Choosing license type and entering serial numbers |
4. Clicking next will now let me choose which programs to install. I'm going to install the entire Suite. But you could deselect any options an programs you don't want.
The only thing I do on this screen is change my installation location, which I change from my C drive to my D drive (which is larger).
 |
| Changing my |
Additionally, clicking on one of the programs will expand out additional options for the installations, such as downloading service packs (if available), and adding or removing certain components from the installation.
Each one is different, so check the programs you're installing, and make sure the options you want are selected!
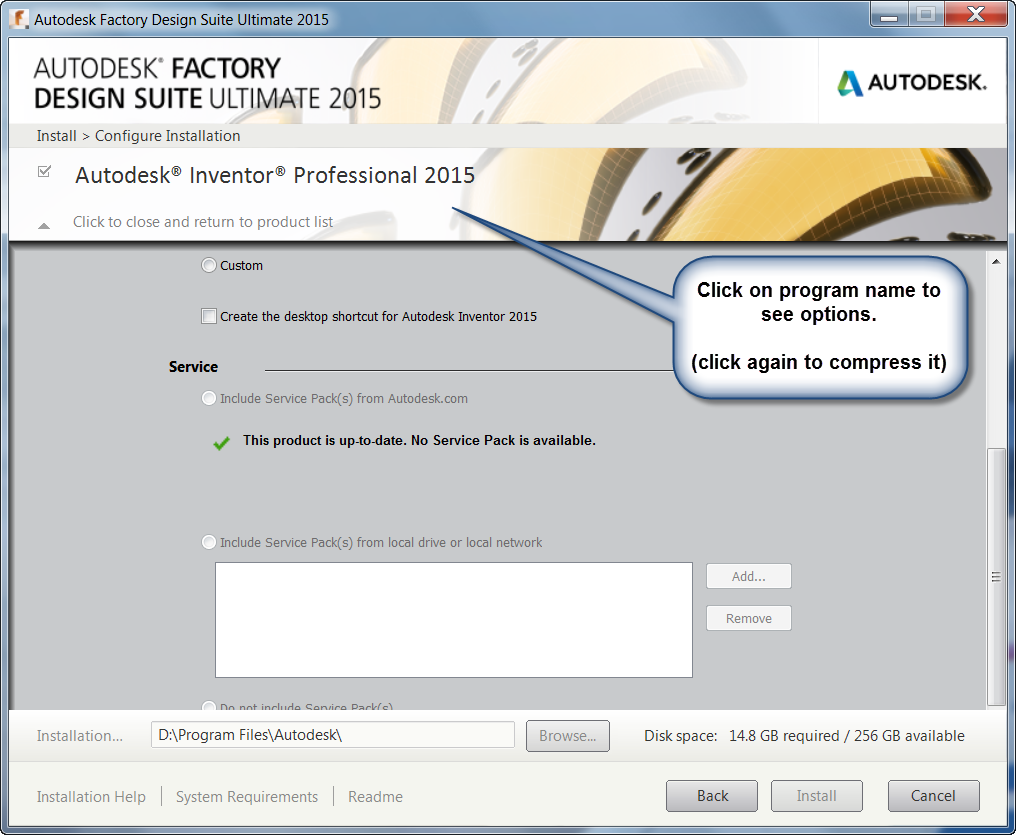
Make sure to click the program name to close up the options! The install button will be grayed out until you do this!
5. this is all done, you're ready to Click install, and proceed!

, For a video description, take a look below!
No comments:
Post a Comment