
Samuel Foote
Many years ago, I friend asked me to create multi-sided die for a website he was creating. You can still see the images on the banner of the website for DiceHouse Games here.
It was a tricky one to create. It was a 20 sided die, a much used tool in role playing games like Dungeons and Dragons.
 |
| An Autodesk Showcase Rendering of the 20 sided die model |
I also used it as an example in a blog post for using the “Change View Orientation” tool inside of Autodesk Inventor drawings back in February 2012.
***Edit 13-Nov-2012 : Added an embedded dwf of the 20 sided die***
A 3D dwf of the 20 sided die
*** End Edit***
Since
that time I’ve started getting requests for how I built the die, as
well as a location to download the actual *.ipt file. So here are the steps on how I built the 20 sided die!
1. I found the definition of a Icosahedron (a 20 sided polygon) on Wikipedia.
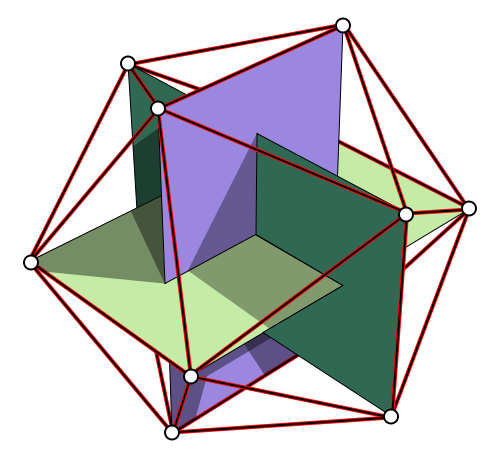 |
| The construction figure that started it all! |
2. I created three sketches on the XY, YZ, and XZ origin planes in Inventor
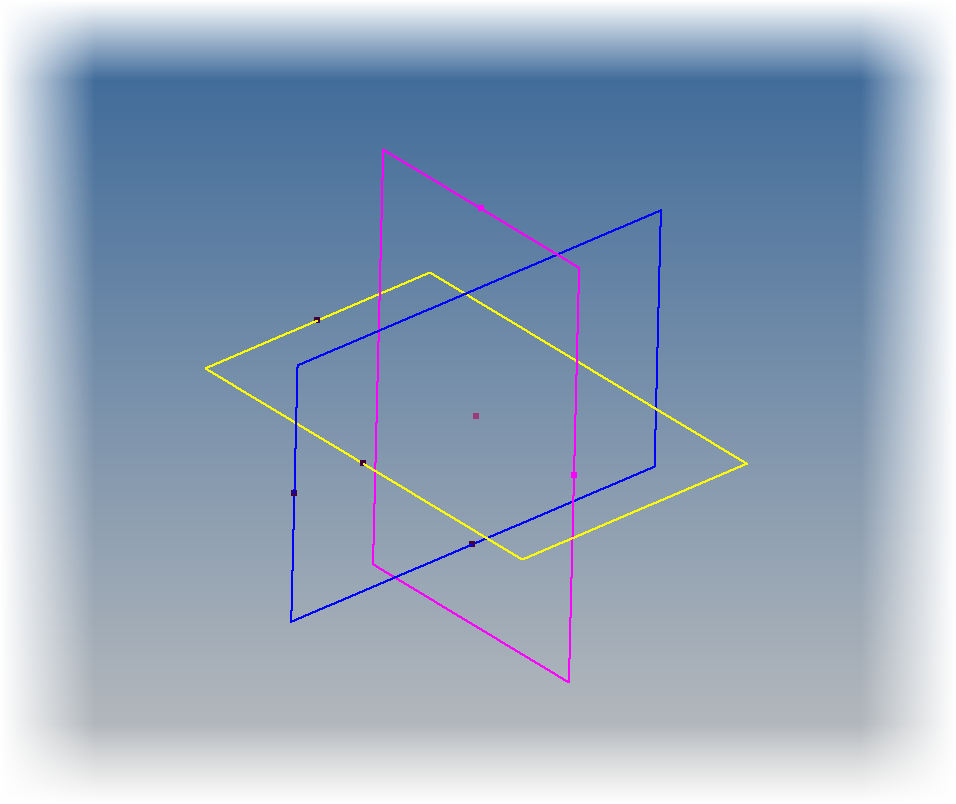 |
| The three rectangles on each plane to create the framework |
3. Next, I used a 3D sketch to connect the vertices together, must like in the Wikipedia image. If you’re wondering, this did take quite a bit of time.
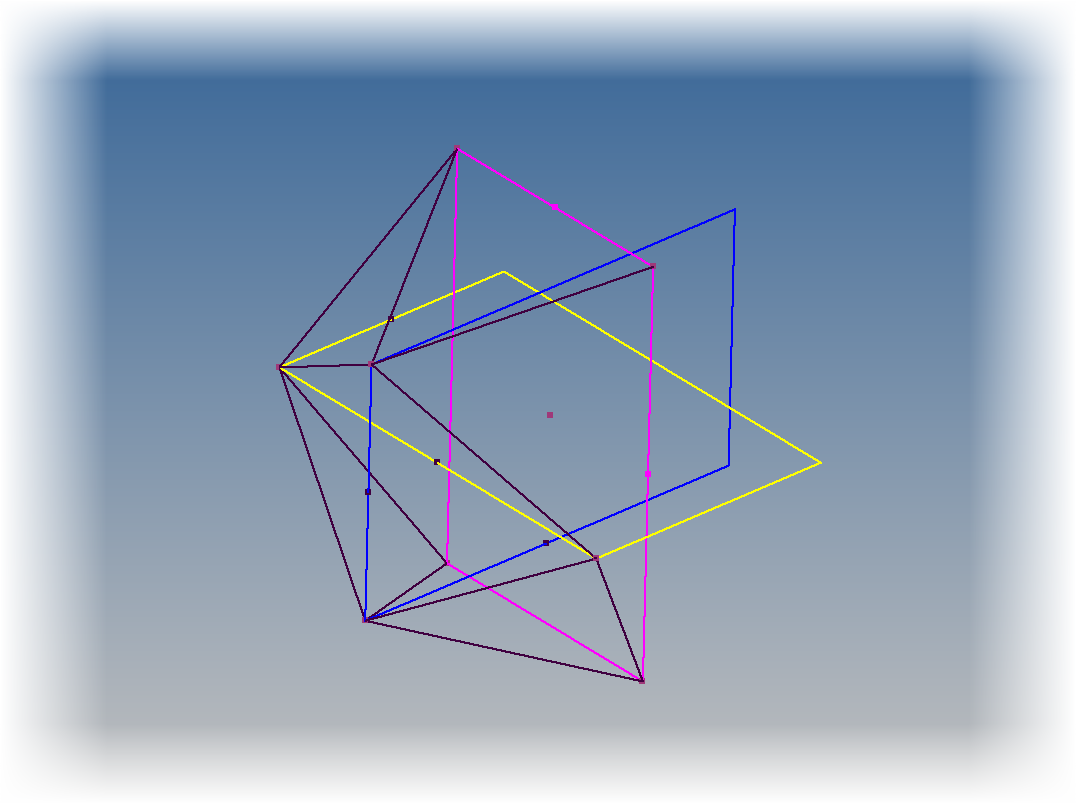 |
| The process of creating the skeleton |
4. This becomes the skeleton where I create several boundary patches. The boundary patches create the surfaces of the die using the “sketch skeleton”. This was also pretty laborious!
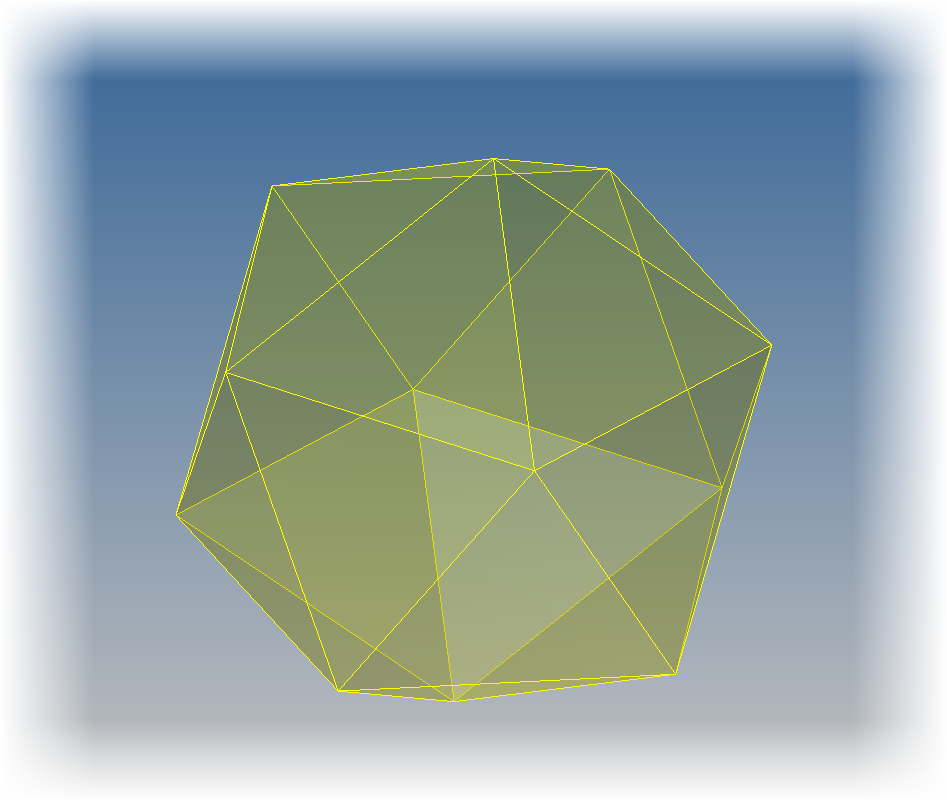 |
| Boundary patches created close surface that could be stitched. |
5. I then stitched the surface. Since it’s “watertight” (completely sealed), it becomes a solid.
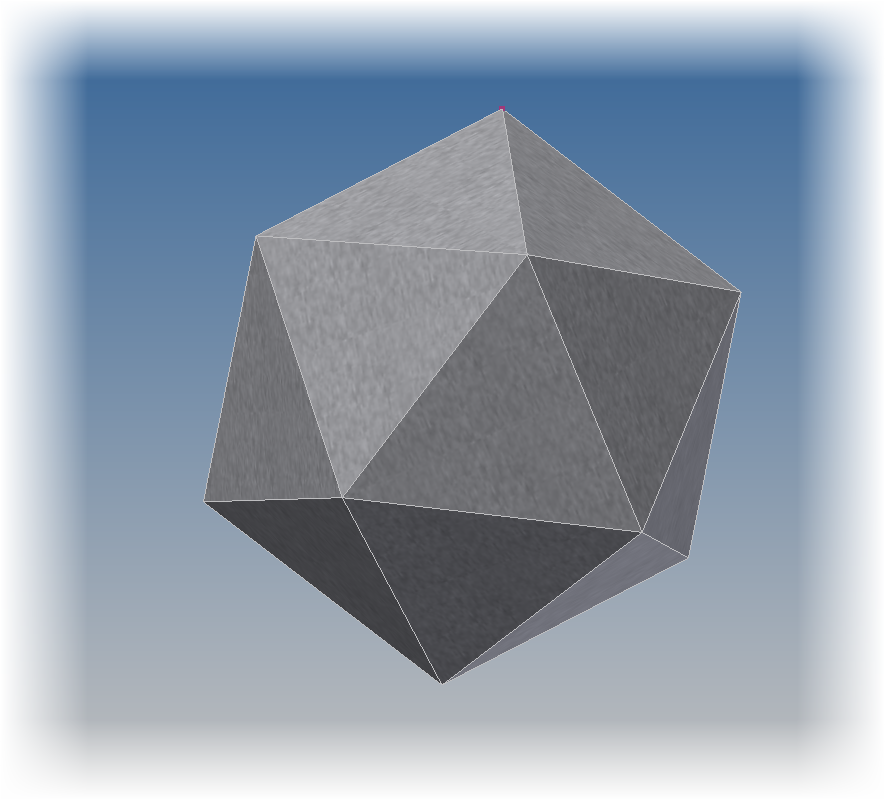 |
| Stitching the surfaces make it a solid |
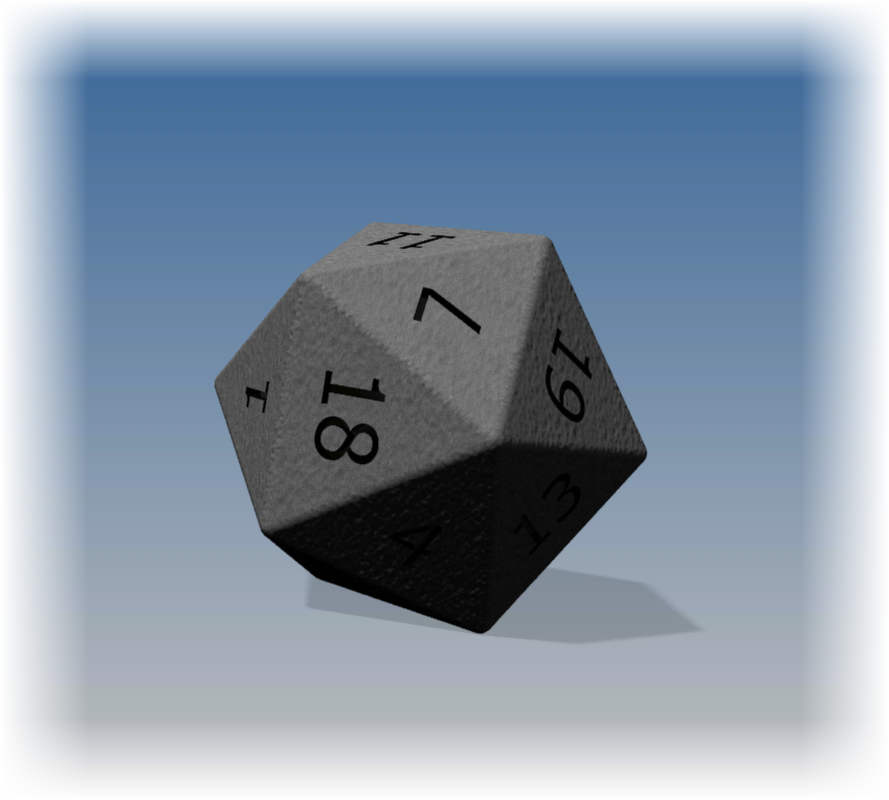 |
| The completed die |
So in conclusion, this was a satisfying little project took a little bit of research to figure out how to construct it. Once I figured out the process, the steps weren’t difficult, but it did take time and patience to execute.
Placing the 3D wires lines took a lot of time, and more than once I had to correct a line I misplaced. The boundary patches took less time, but putting in all the numbers was an exercise in patience too.
So because of the requests, I’m uploading the file to a couple of sites for download. However, before you go grabbing the file, I make only one request.
I spent several hours of a Saturday figuring this out. All I ask is if you use this model, give me a nod and a little credit for the time I put into it.
Now for the download sites!
The first is my Autodesk 360 site: Click here for Autodesk 360 download
If you use the GrabCAD file sharing website, you can also log in and get it here: Click here for GrabCAD download
Really great stuff, very informative. I look forwarding to experimenting with this build technique.
ReplyDeletecan you do 60 sided dice?
ReplyDeleteIf I can find the construction, I could probably do it.
ReplyDeleteBut that would take some time! :)
This is a good post.d20 würfel kaufen Thanks for sharing with us, Excellent work and I really appreciate your work.
ReplyDelete